Malabar Chicken Biryani recipe with step-by-step photos and instructions. This dish is a true gem, shared by a friend who sells home-cooked Malabar biryanis for small functions. Her biryani was so delicious that I couldn’t resist asking for the recipe, and with her kind permission, I’m sharing it with you today. Trust me when I say this is the most delectable biryani I’ve ever tasted!
Servings & Suggestions
To elevate your Malabar Chicken Biryani experience, I suggest pairing it with some refreshing raitas and crispy fried pappadums. Additionally, serving the biryani alongside fried chicken can truly enhance the overall dining experience, as the two pair exceptionally well. I highly recommend trying a simple yet delicious recipe for Masala Fried Chicken, which is easy to prepare and packed with flavor. This combination will certainly make your meal unforgettable!
Additionally, you can make some mango and kathirikkai pachadi to complement your Malabar Chicken Biryani. Pachadi is a must-have for biryanis, adding a refreshing contrast to the rich flavours of the dish. Many people might prefer to serve gravies like dalcha with their biryanis, but I find that pachadi provides a lighter and tangy alternative that enhances the overall experience. I’m thinking of making this pachadi along with a dalcha gravy recipe soon, as both would beautifully accompany any biryani and elevate the meal to new heights.


If you’re short on time but still craving a hearty meal, feel free to prepare just the Malabar Chicken Biryani on its own. This dish is truly satisfying as it combines a variety of flavors and textures into one complete meal. The aromatic rice, tender chicken, and spices come together to create a comforting dish that will leave you feeling fulfilled and content.
Substitutions for Malabar Chicken Biryani
If you’re looking to make some substitutions while preparing the Malabar chicken biryani, consider the following options:
- Yogurt: If you’re lactose intolerant, a dairy-free yogurt alternative such as coconut yogurt can be used.
- Brown Basmati Rice for Diabetic Option: Brown basmati rice is a healthier alternative for those managing diabetes. It has a lower glycemic index compared to white basmati rice, which means it won’t spike blood sugar levels as quickly. Water ratio to rice will be 2: 1.
- Oil: You may use coconut oil for a more healthier option.
Cooking Tips for Malabar Chicken Biryani
- When frying onions(barista) for the malabar chicken biryani, remove them from heat when they’re still half golden brown. They’ll continue to cook and become a little dark after draining.
- To prevent the rice from burning, place a tawa on the flame before the biryani pot during the final cooking stage.
- If you don’t have aluminum foil, you can use dough to seal the lid of the biryani pot.
- Alternatively, use a clean, wet muslin cloth around the pot before covering with the lid.
Enjoy this aromatic and flavorful Malabar Chicken Biryani with your loved ones. It’s a perfect dish for special occasions or when you want to treat yourself to something extraordinary. Happy cooking!

Malabar Chicken Biryani
Description
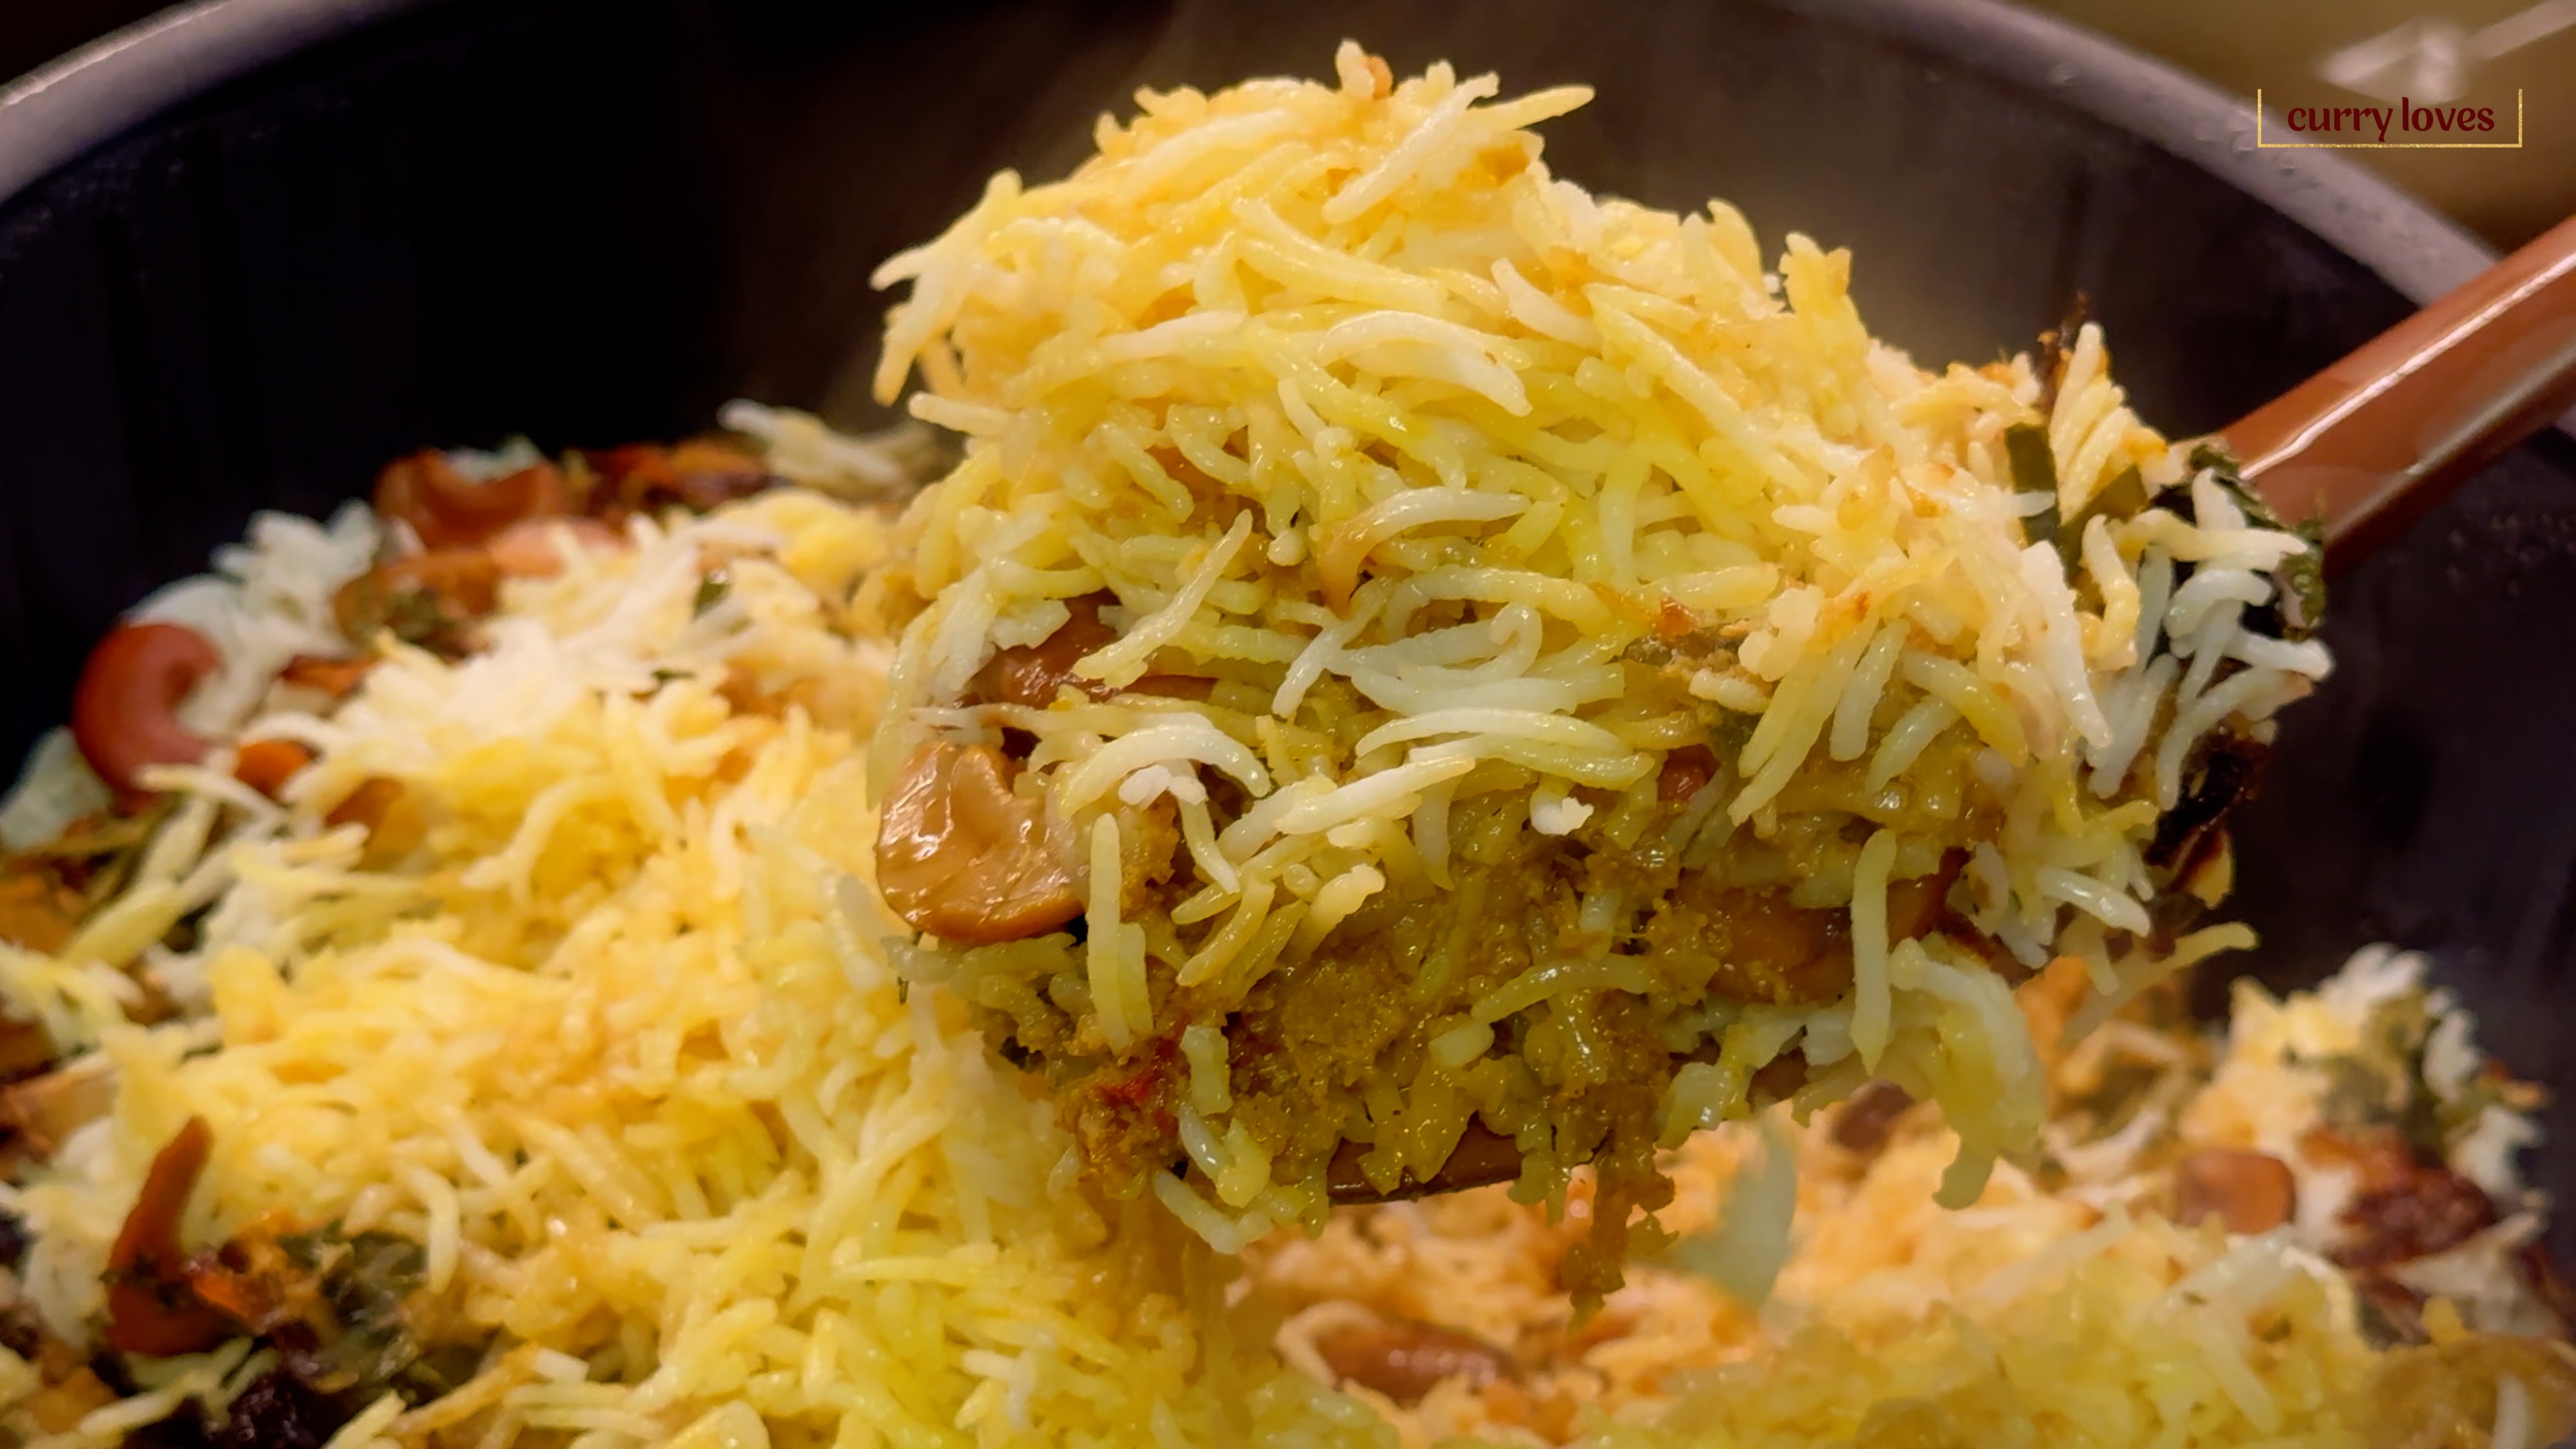
This Chicken Biryani recipe is a flavorful, dish that combines tender chicken with aromatic basmati rice, rich spices, and creamy coconut and yogurt. It’s a delightful texture and taste, featuring layers of fragrant rice and spiced chicken, garnished with fried onions, raisins, and cashew nuts. Perfect for family gatherings or special occasions, this biryani promises to be a crowd-pleaser that brings everyone to the table. Enjoy it paired with cooling raita for a complete meal!
Ingredients for the Malabar Chicken Biryani
For the Basmati Rice:
For the Biryani:
For Assembling the Biryani:
Instructions on how to make the Malabar Chicken Biryani
Instructions on how to make the Malabar Chicken Biryani
Instructions on how to make the Malabar Chicken Biryani with step-by-step photos.
-
- Heat oil in a kadai over medium heat.
- Add the sliced onions and fry until they turn golden brown and caramelised, stirring occasionally to prevent burning. This step is crucial as the fried onions, also known as birista, will add a rich flavour and texture to the biryani.
- Once the onions are golden brown, remove them from the oil, draining any excess, and set aside the birista for assembling the biryani later.
- Soak the almonds in hot water and peel the skin.
- In a mixer jar, grind green chillies, garlic, and ginger with a little water until smooth. Set aside.

-
- In another mixer jar, grind grated coconut and blanched almonds with a little water until smooth. Set aside.

-
- In a pan, heat ghee and oil. Add sliced onions and sauté until golden brown over medium flame.

-
- Add the green chilli, garlic, and ginger paste. Sauté on low flame for 6-7 minutes until the raw smell disappears.
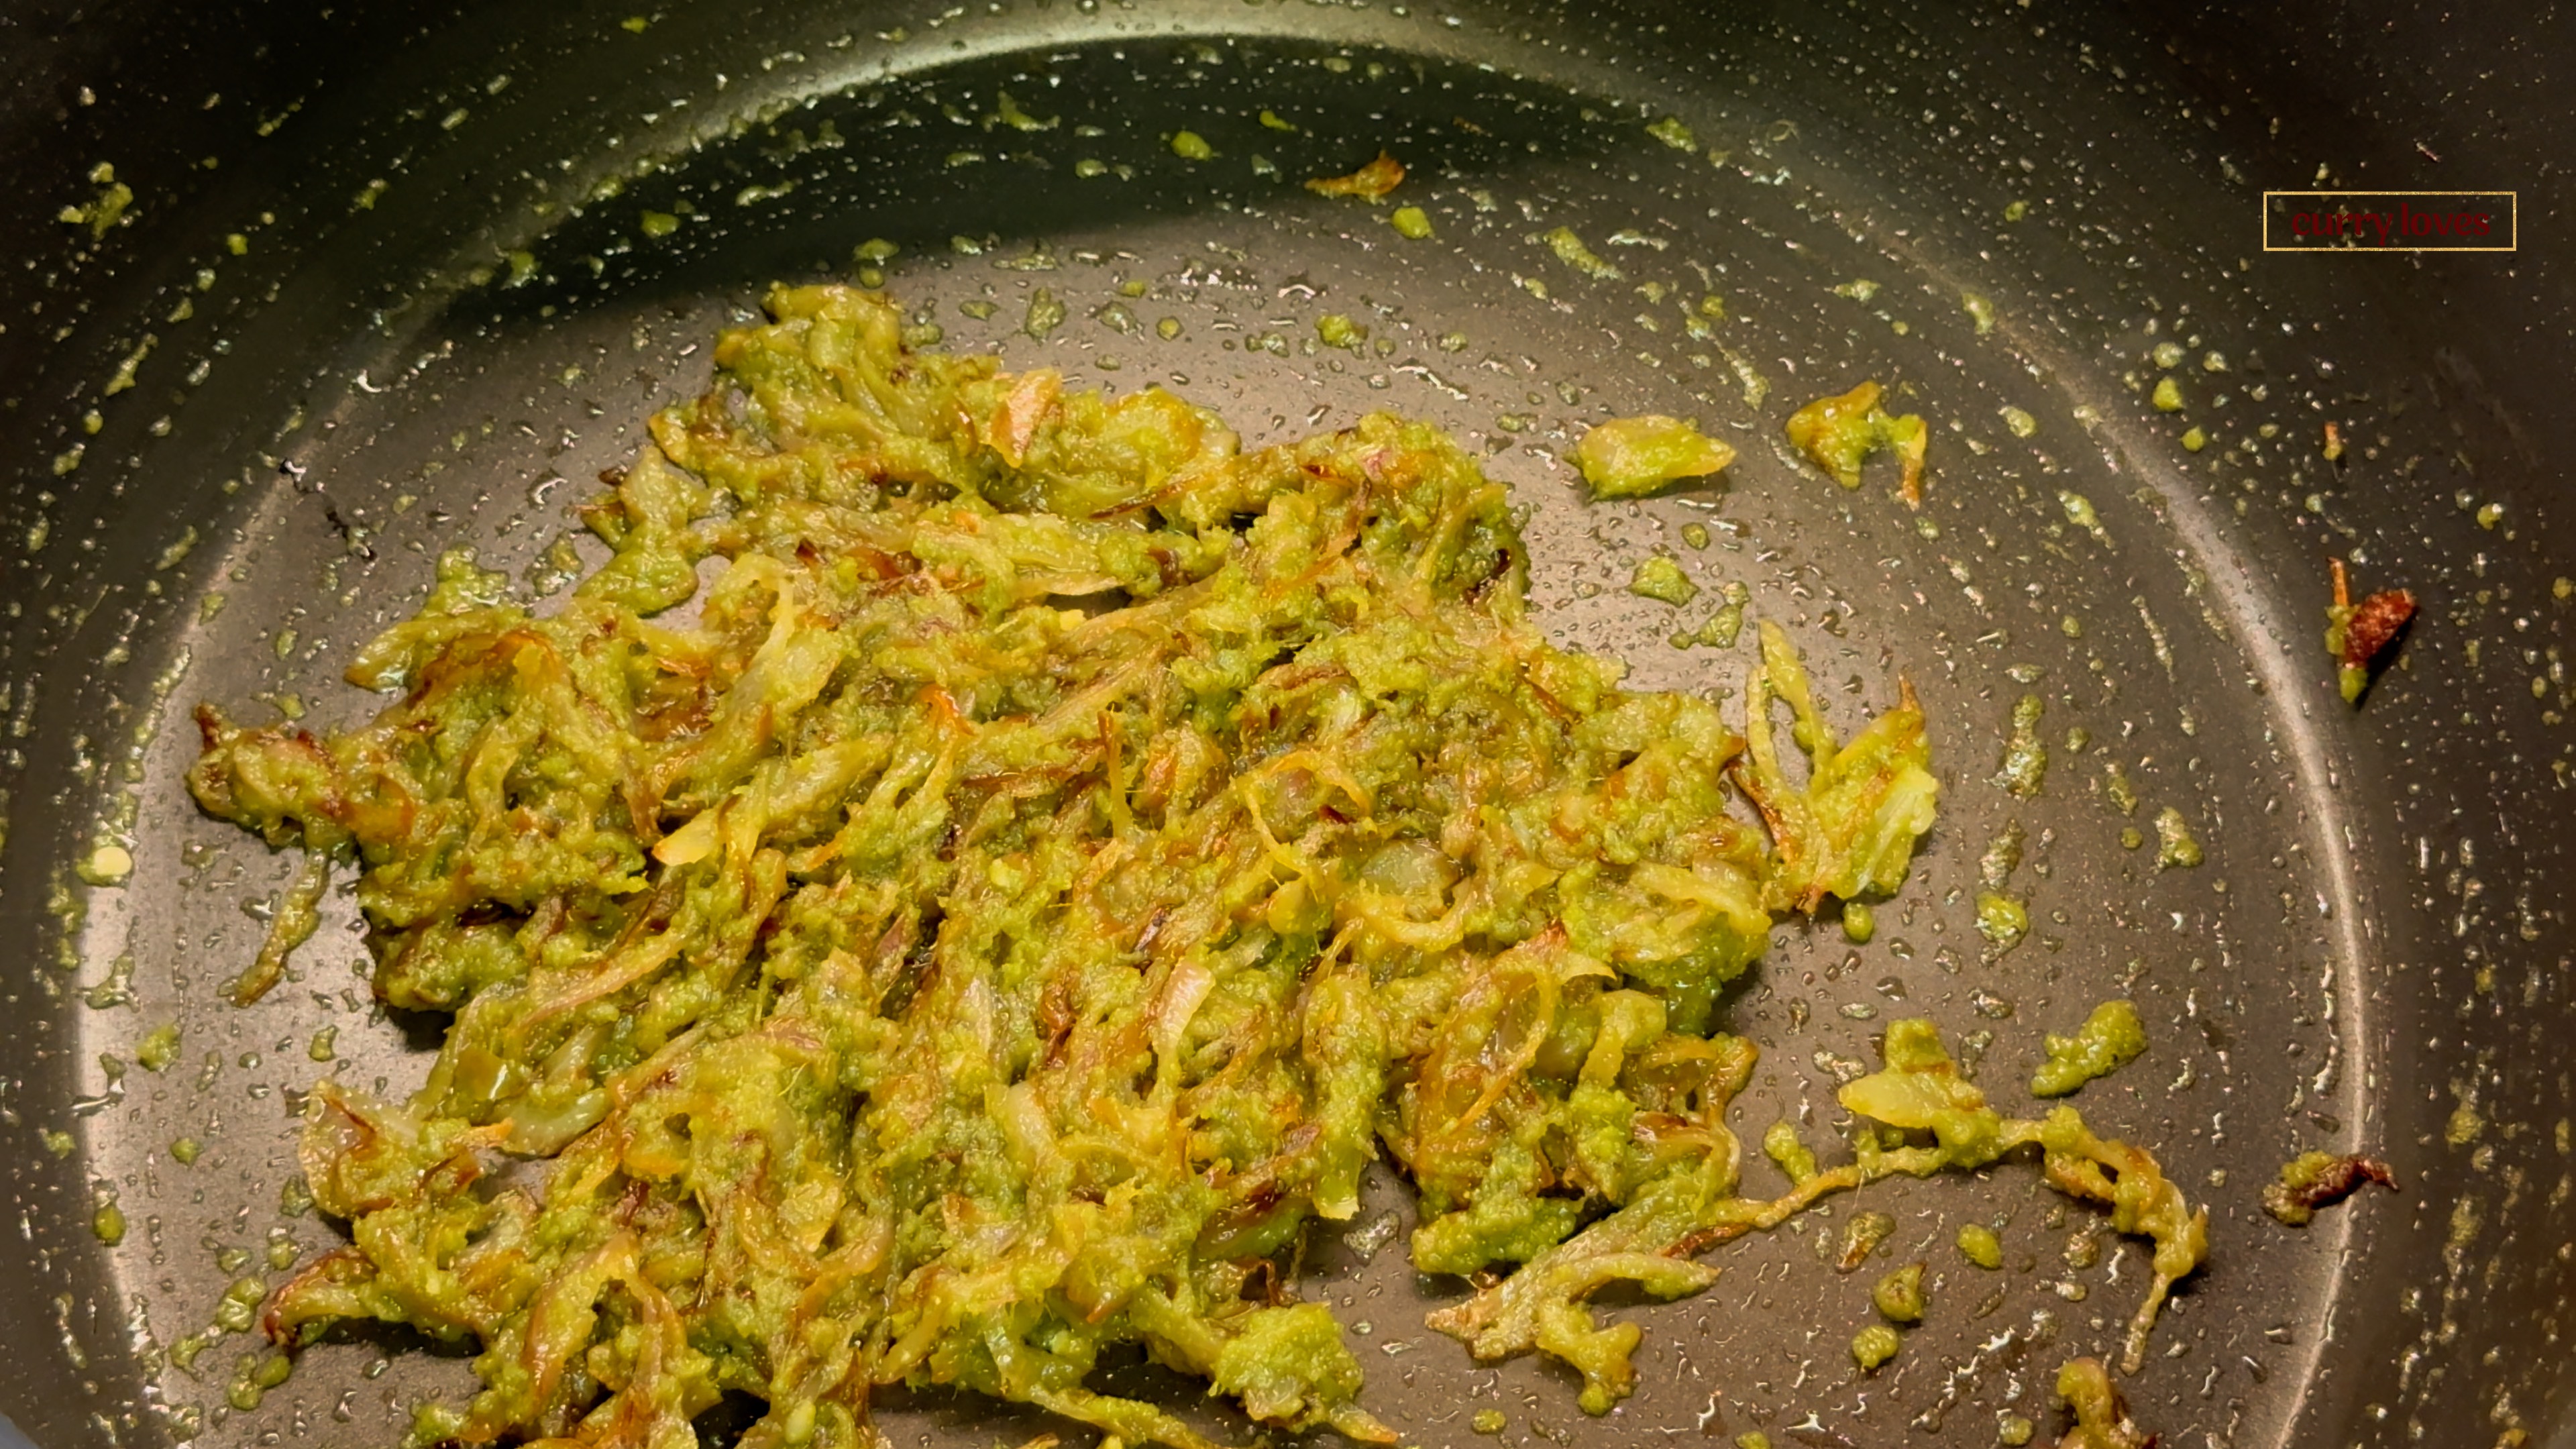
-
- Add chili powder, turmeric powder, and garam masala. Sauté on low flame for 3-4 minutes.
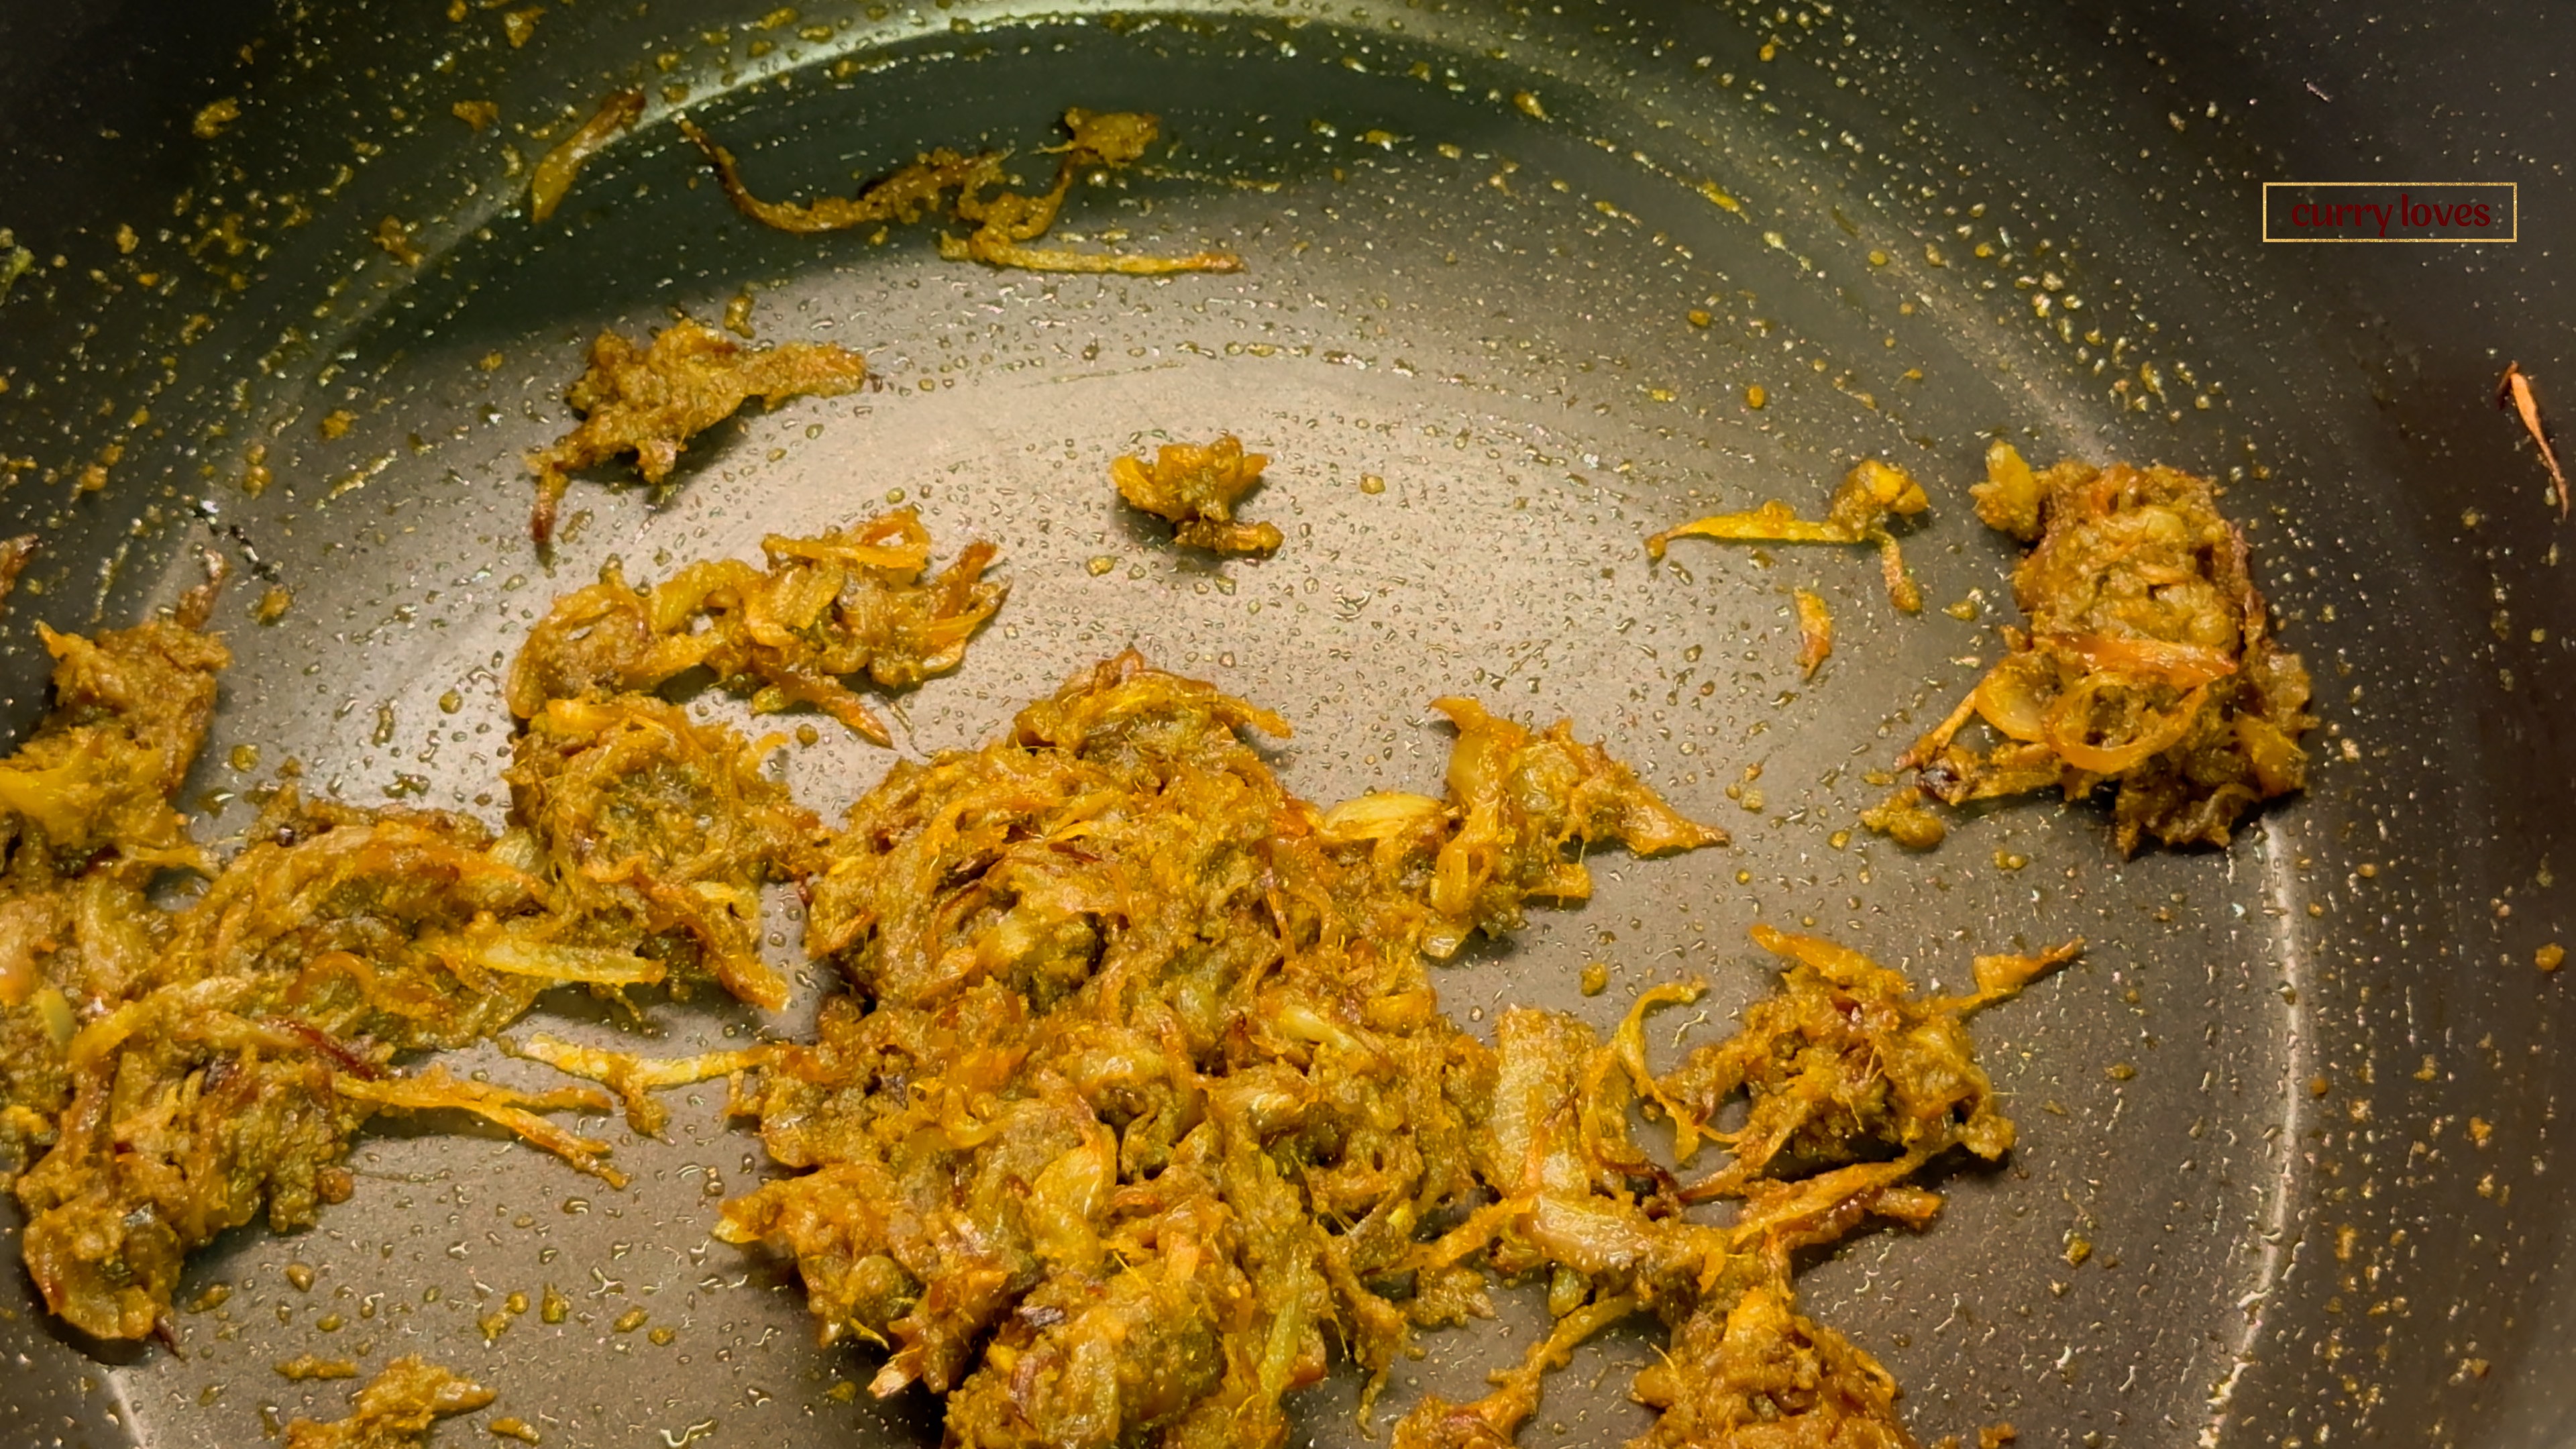
-
- Add chopped tomatoes and cook on medium flame until soft and mushy.

-
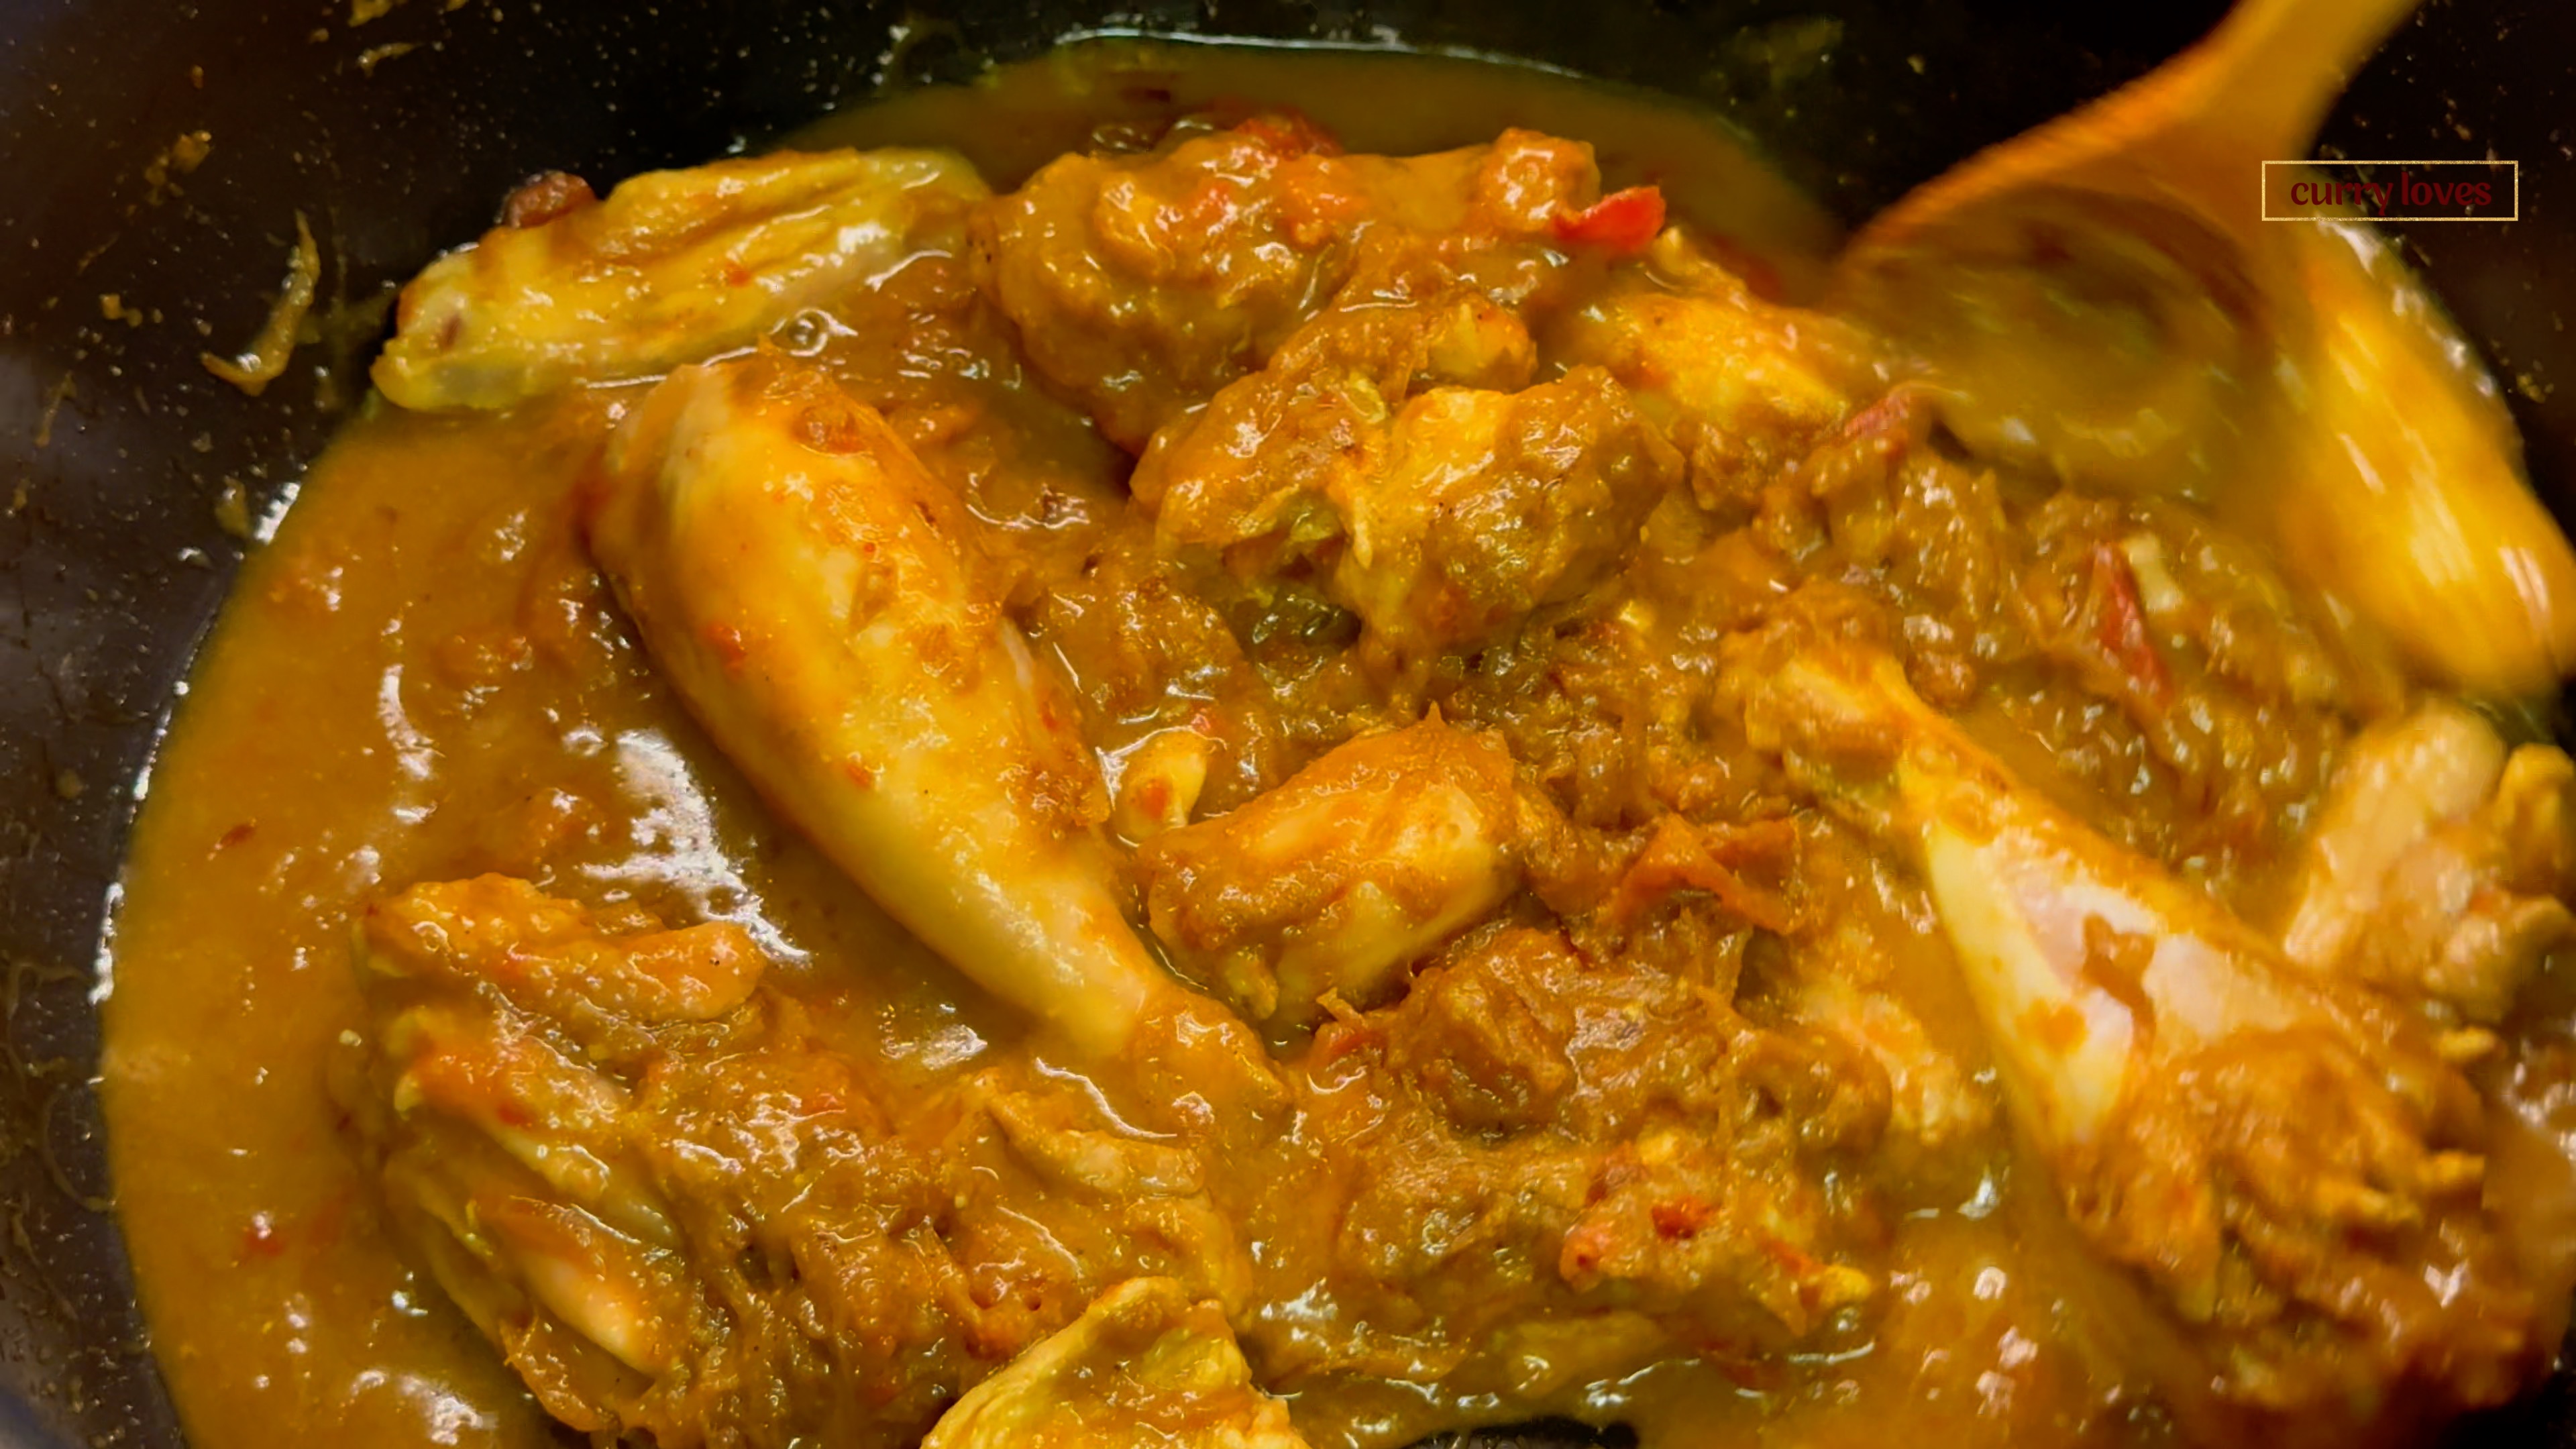
- Add chicken and sauté on high flame for 5 minutes. Add salt and mix well.
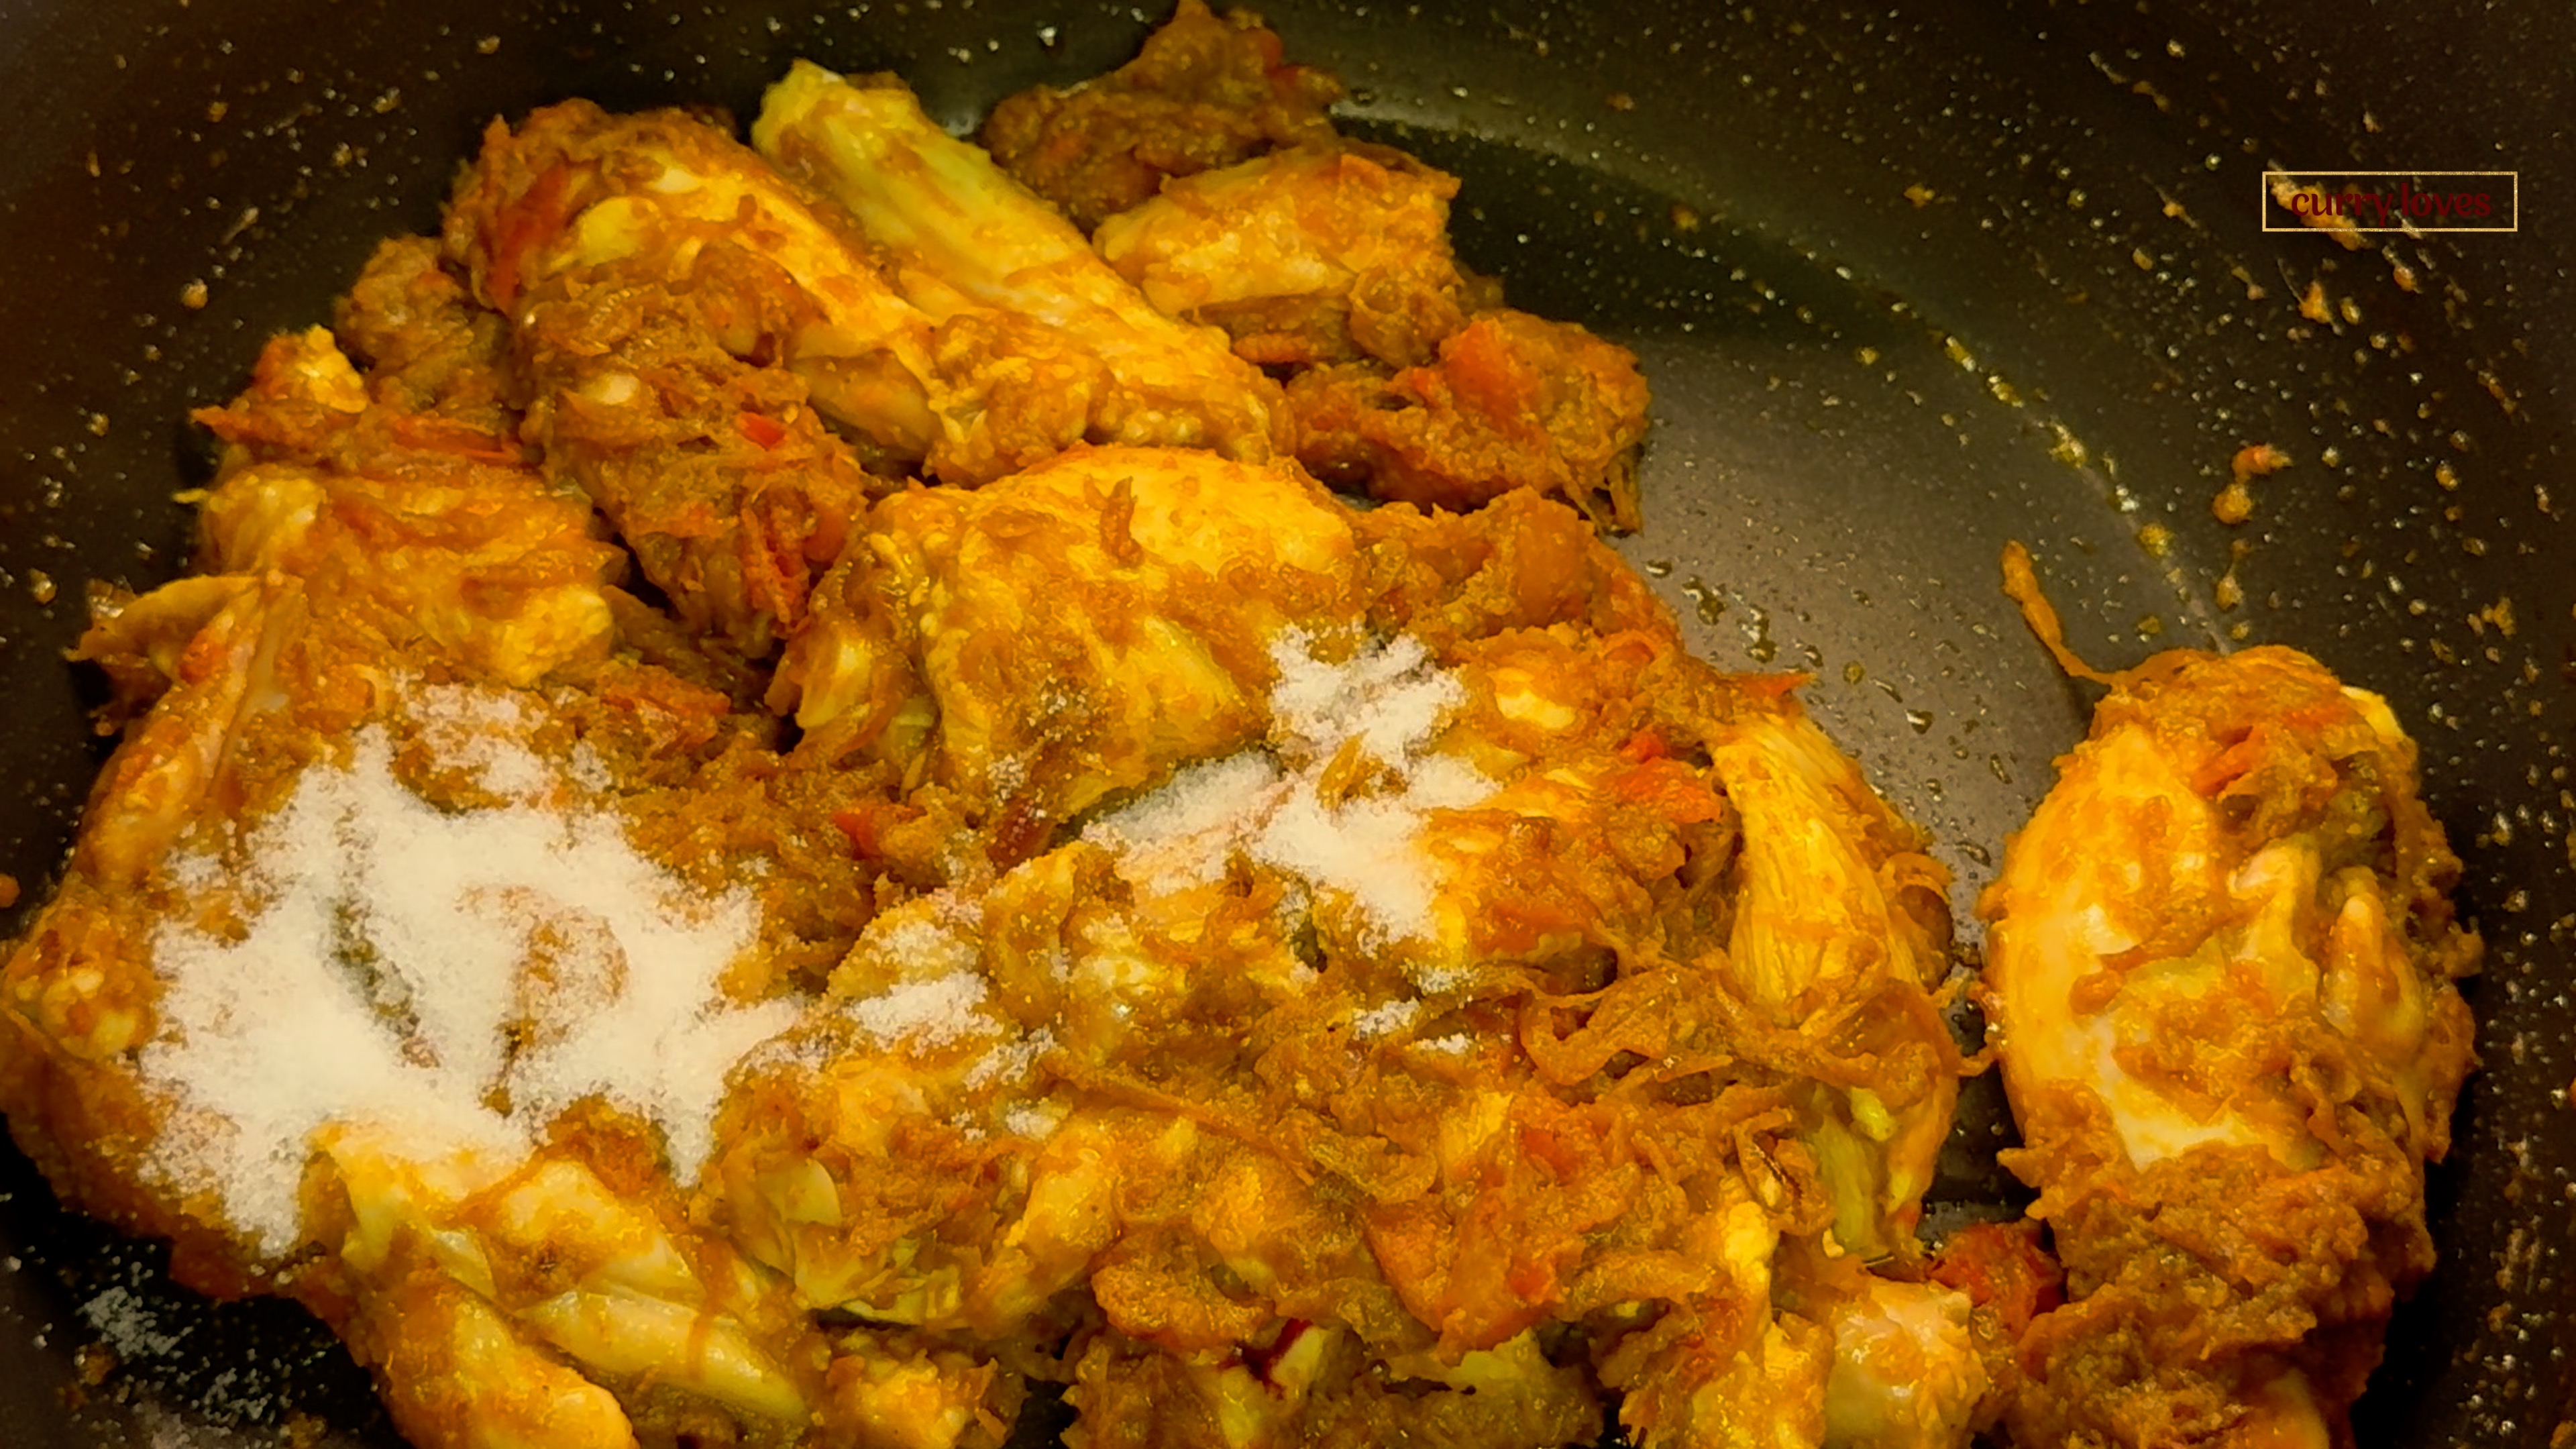
-
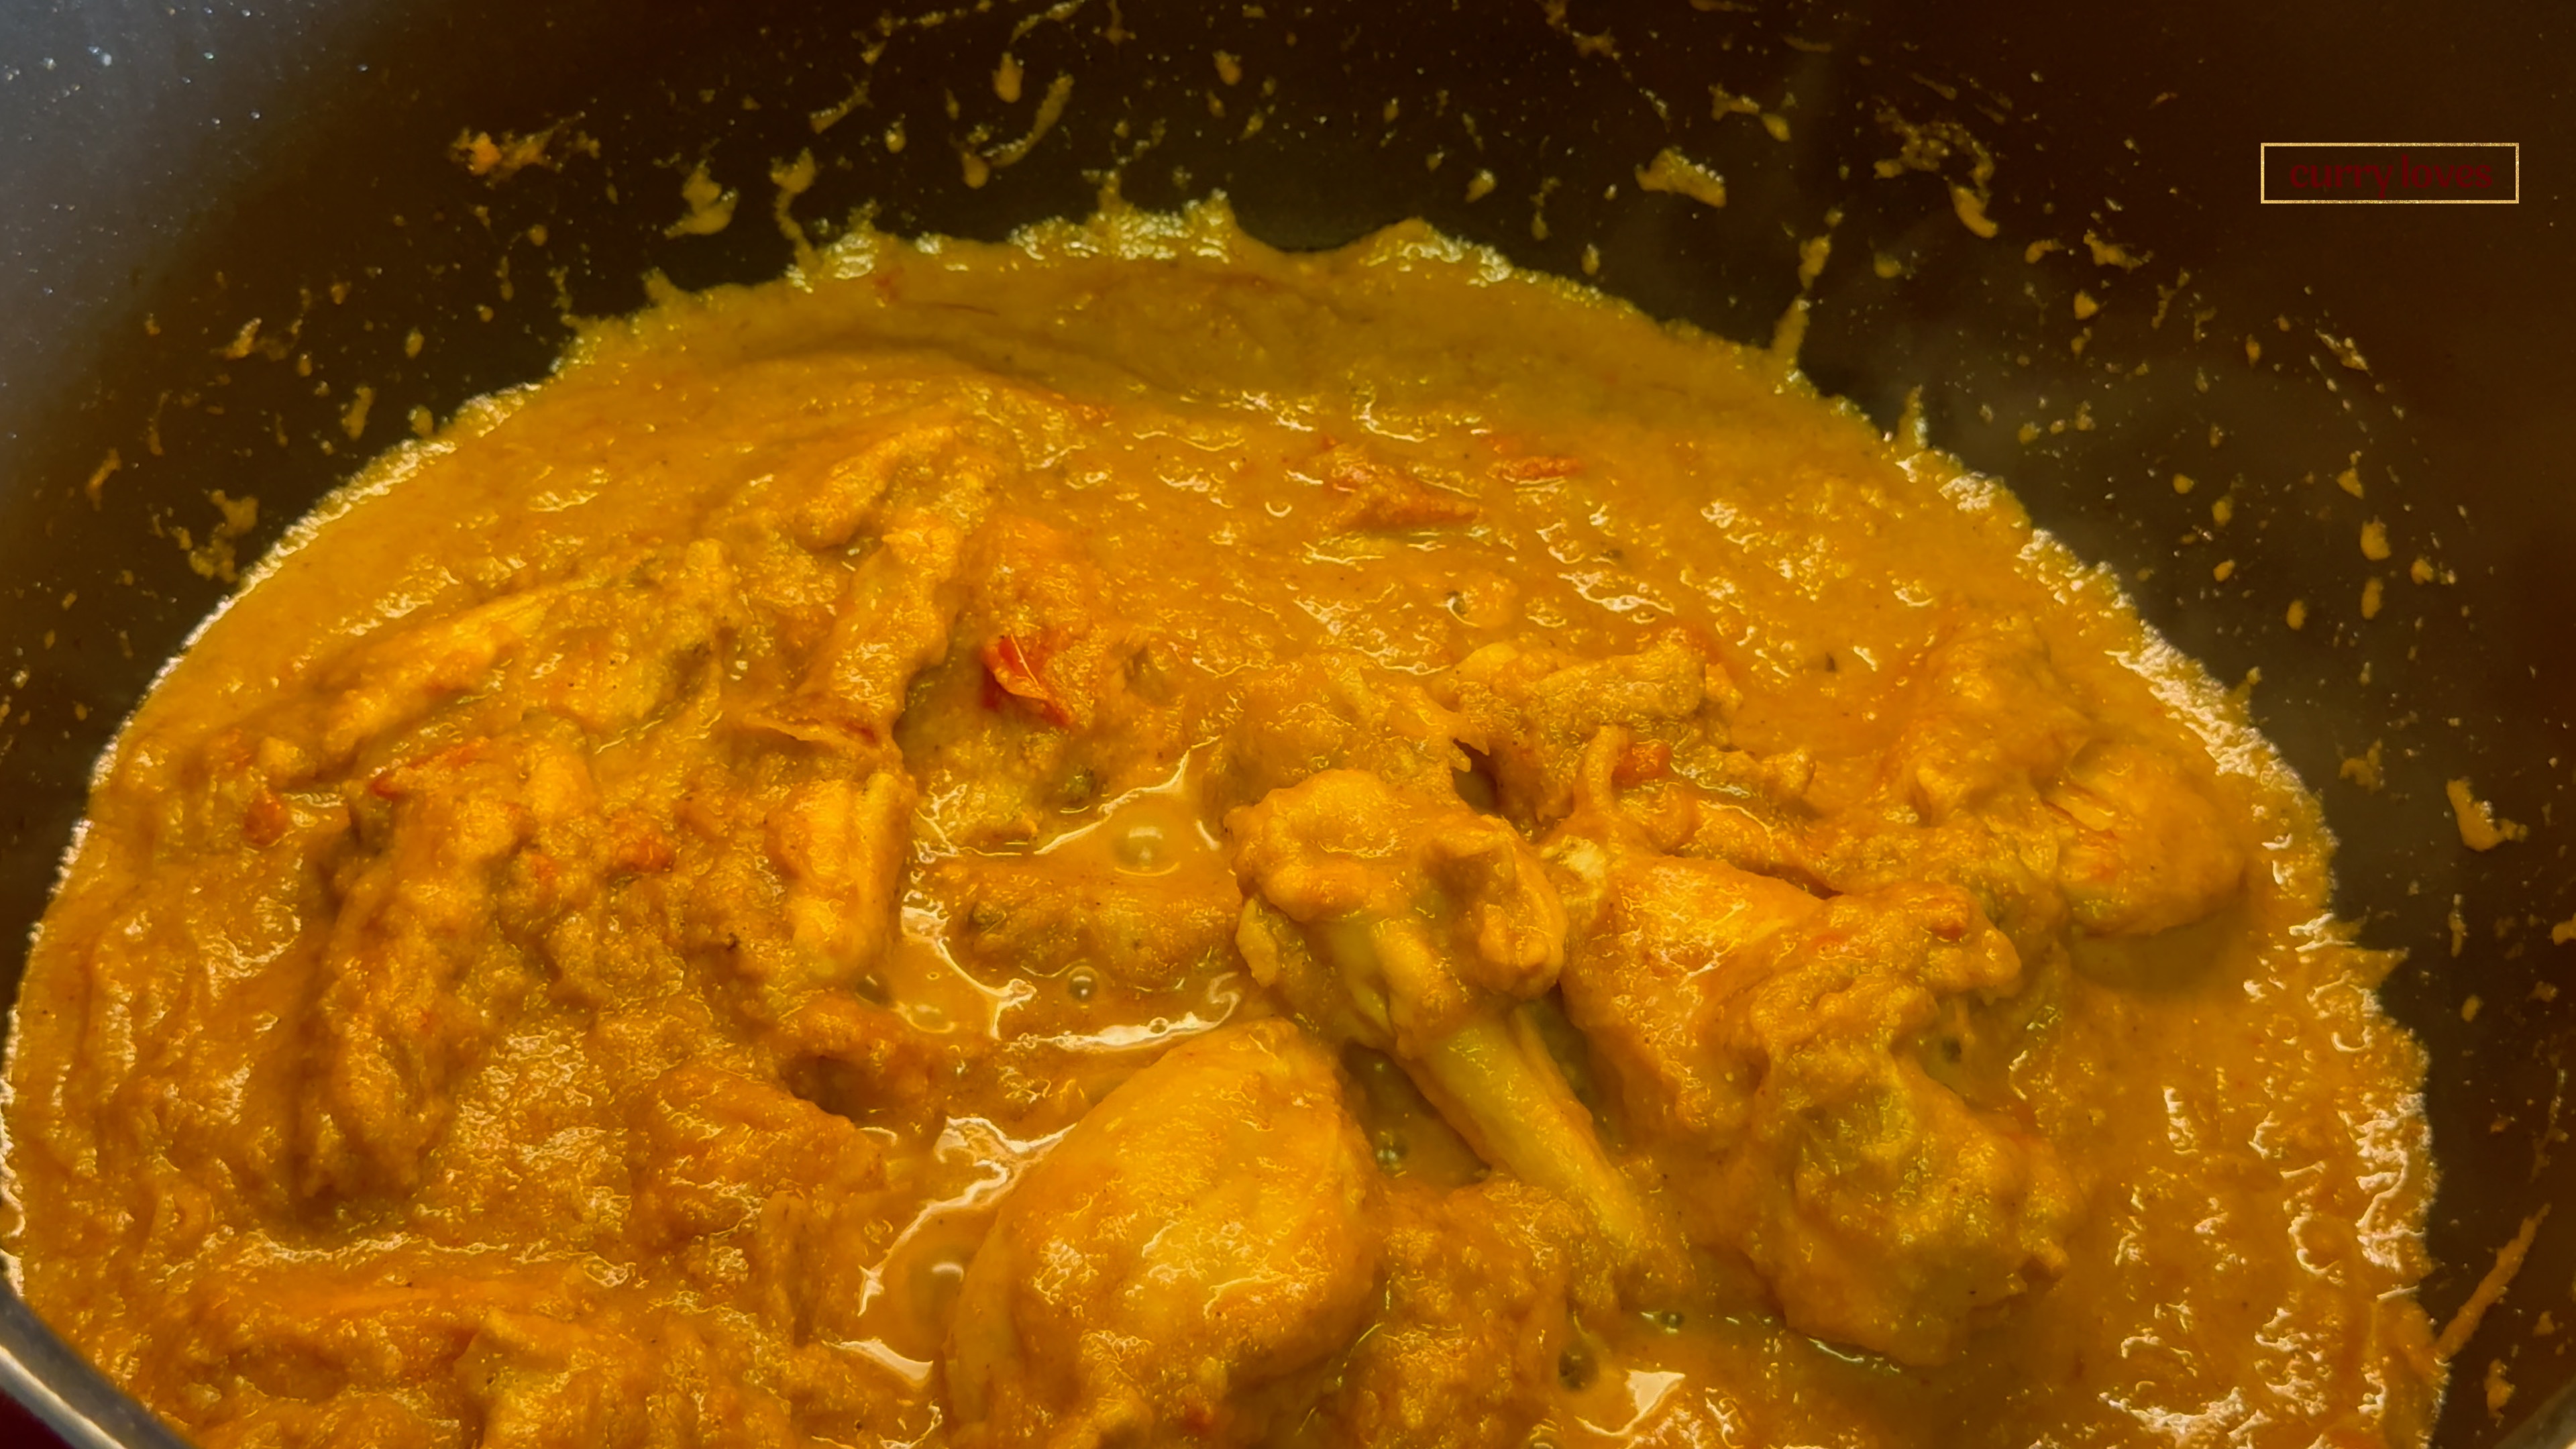
- Add yogurt and mix again. Add 1 cup of water, mix well, and cover. Cook on low flame for 15 minutes, stirring occasionally.
-
- Add the coconut and almond paste. Sauté on low flame for 5 minutes. Add lemon juice, mix, and turn off the flame. The chicken masala for biryani is ready. Set aside.
-
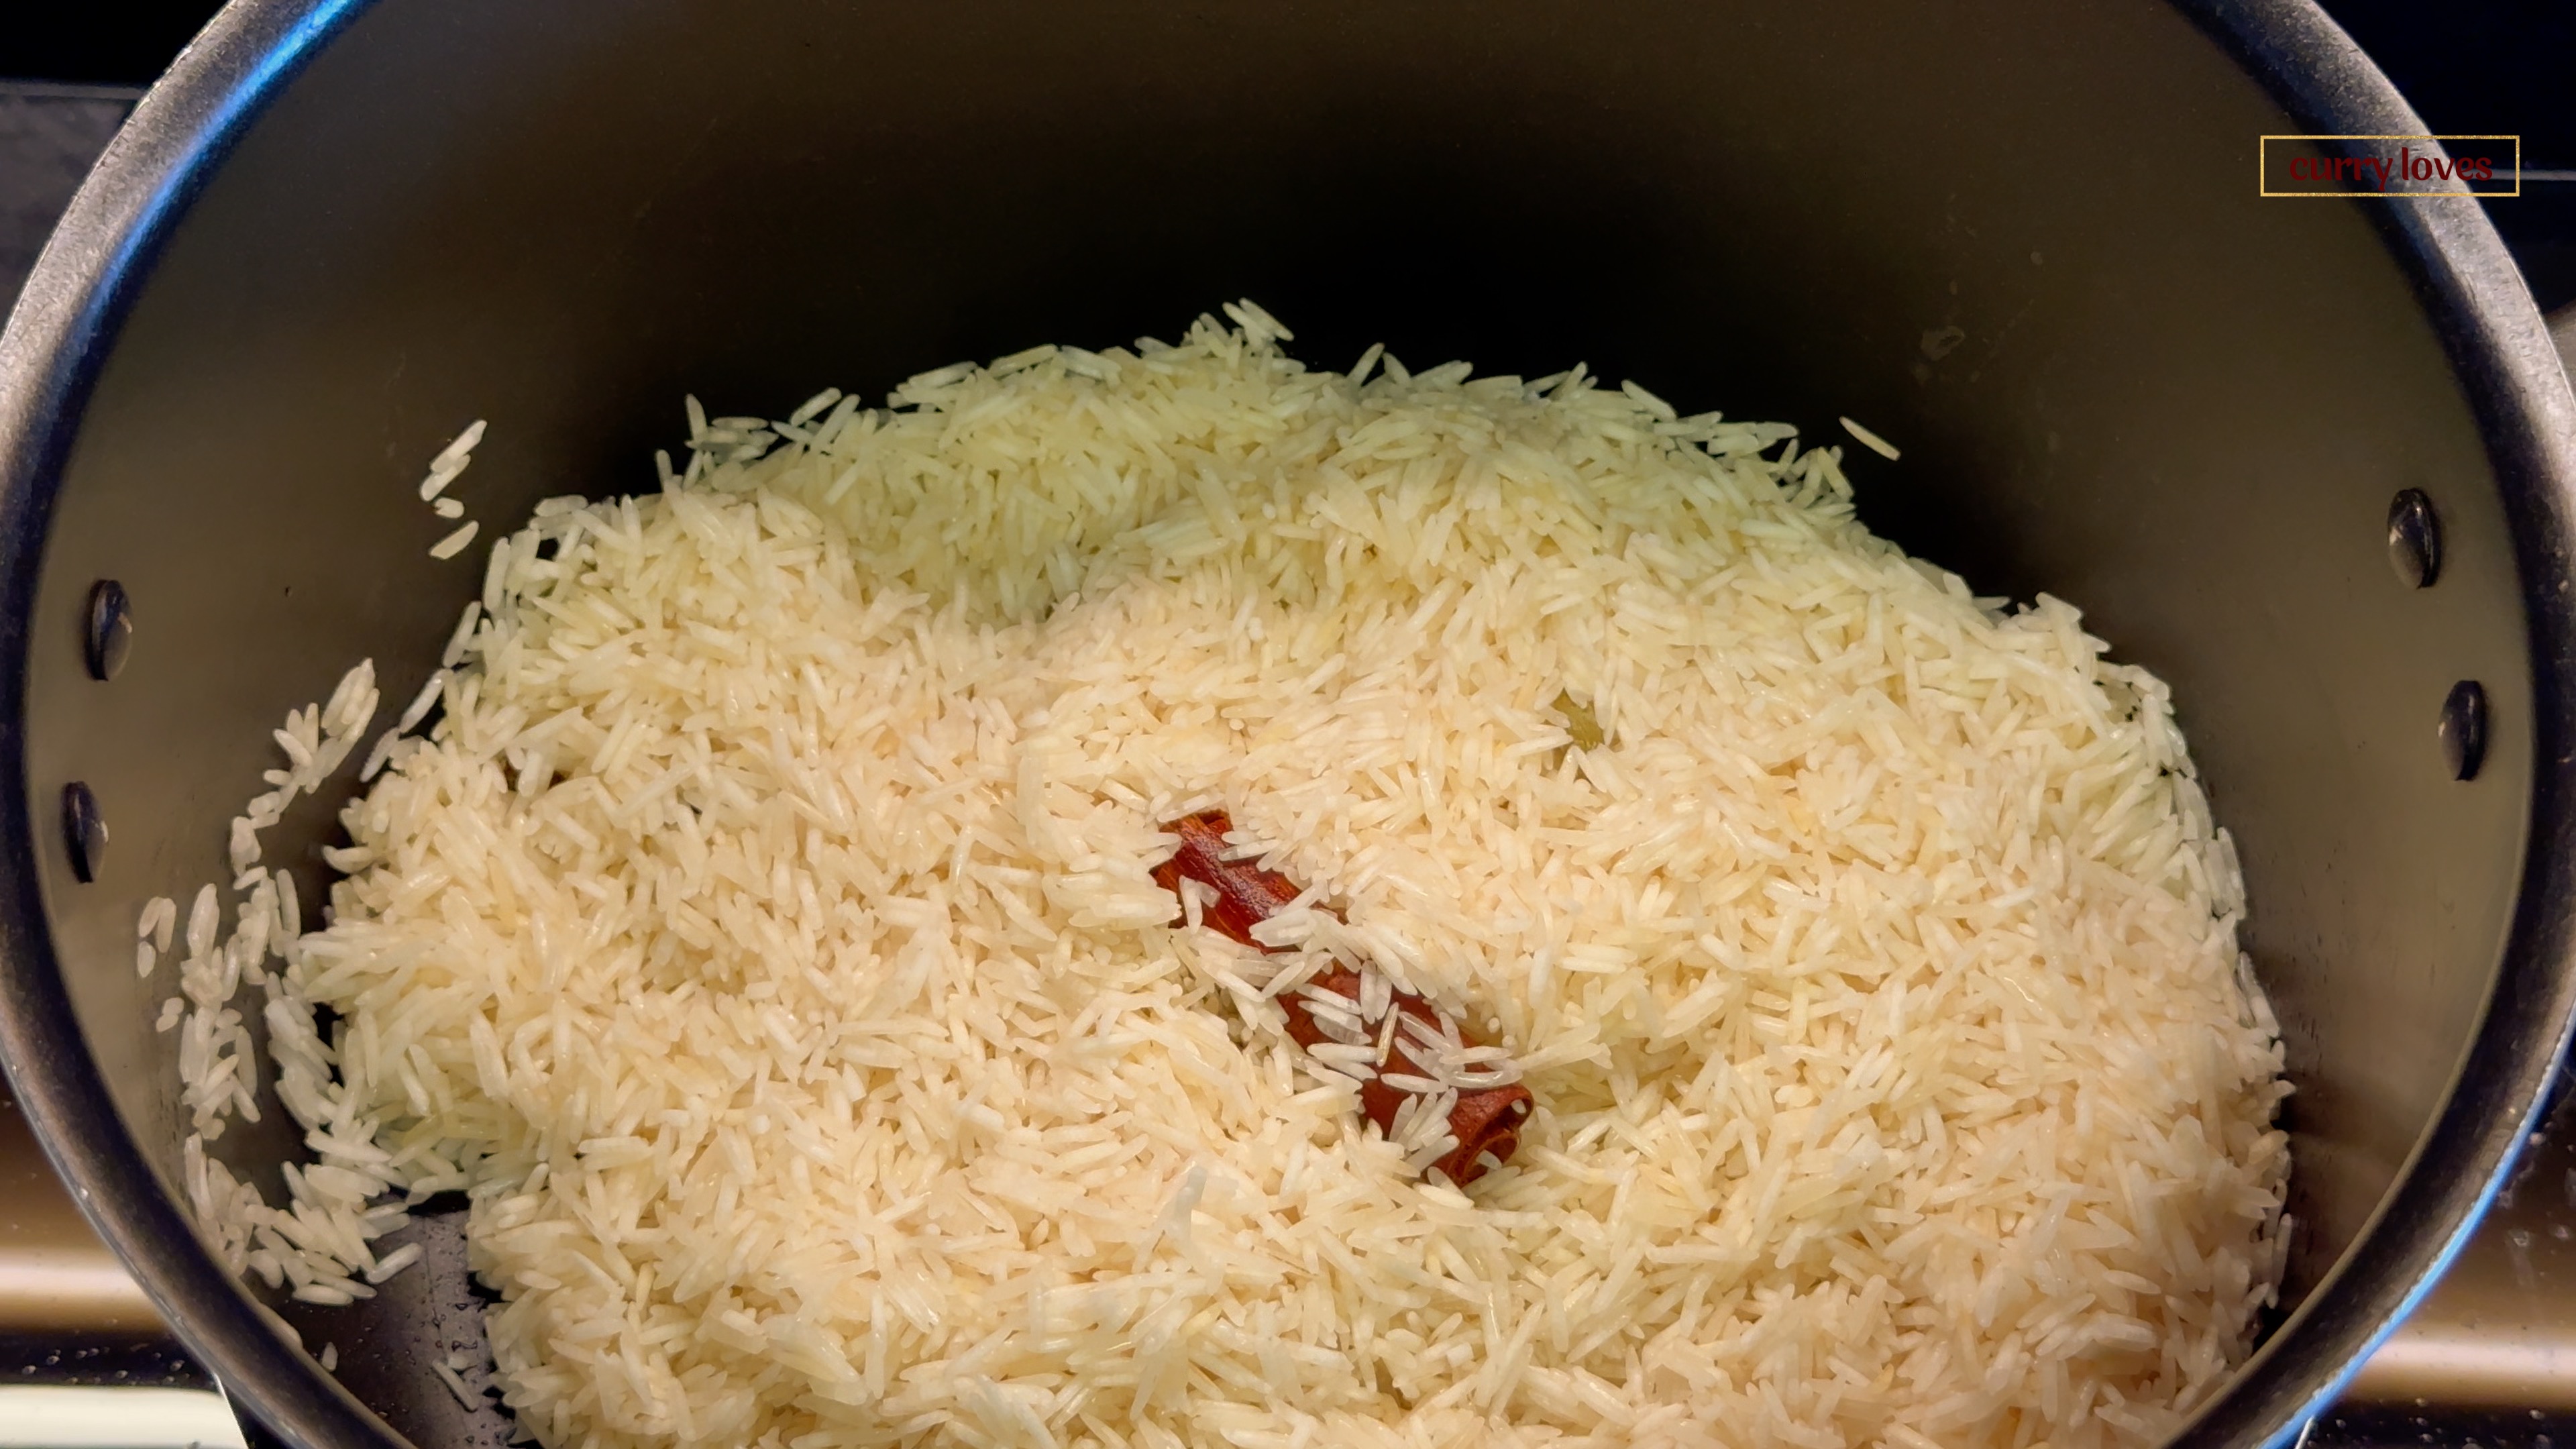
- For the rice, heat 1 tbsp ghee in a clean pot. Add cinnamon, cloves, and cardamom. Once aromatic, add soaked basmati rice and gently mix.
-
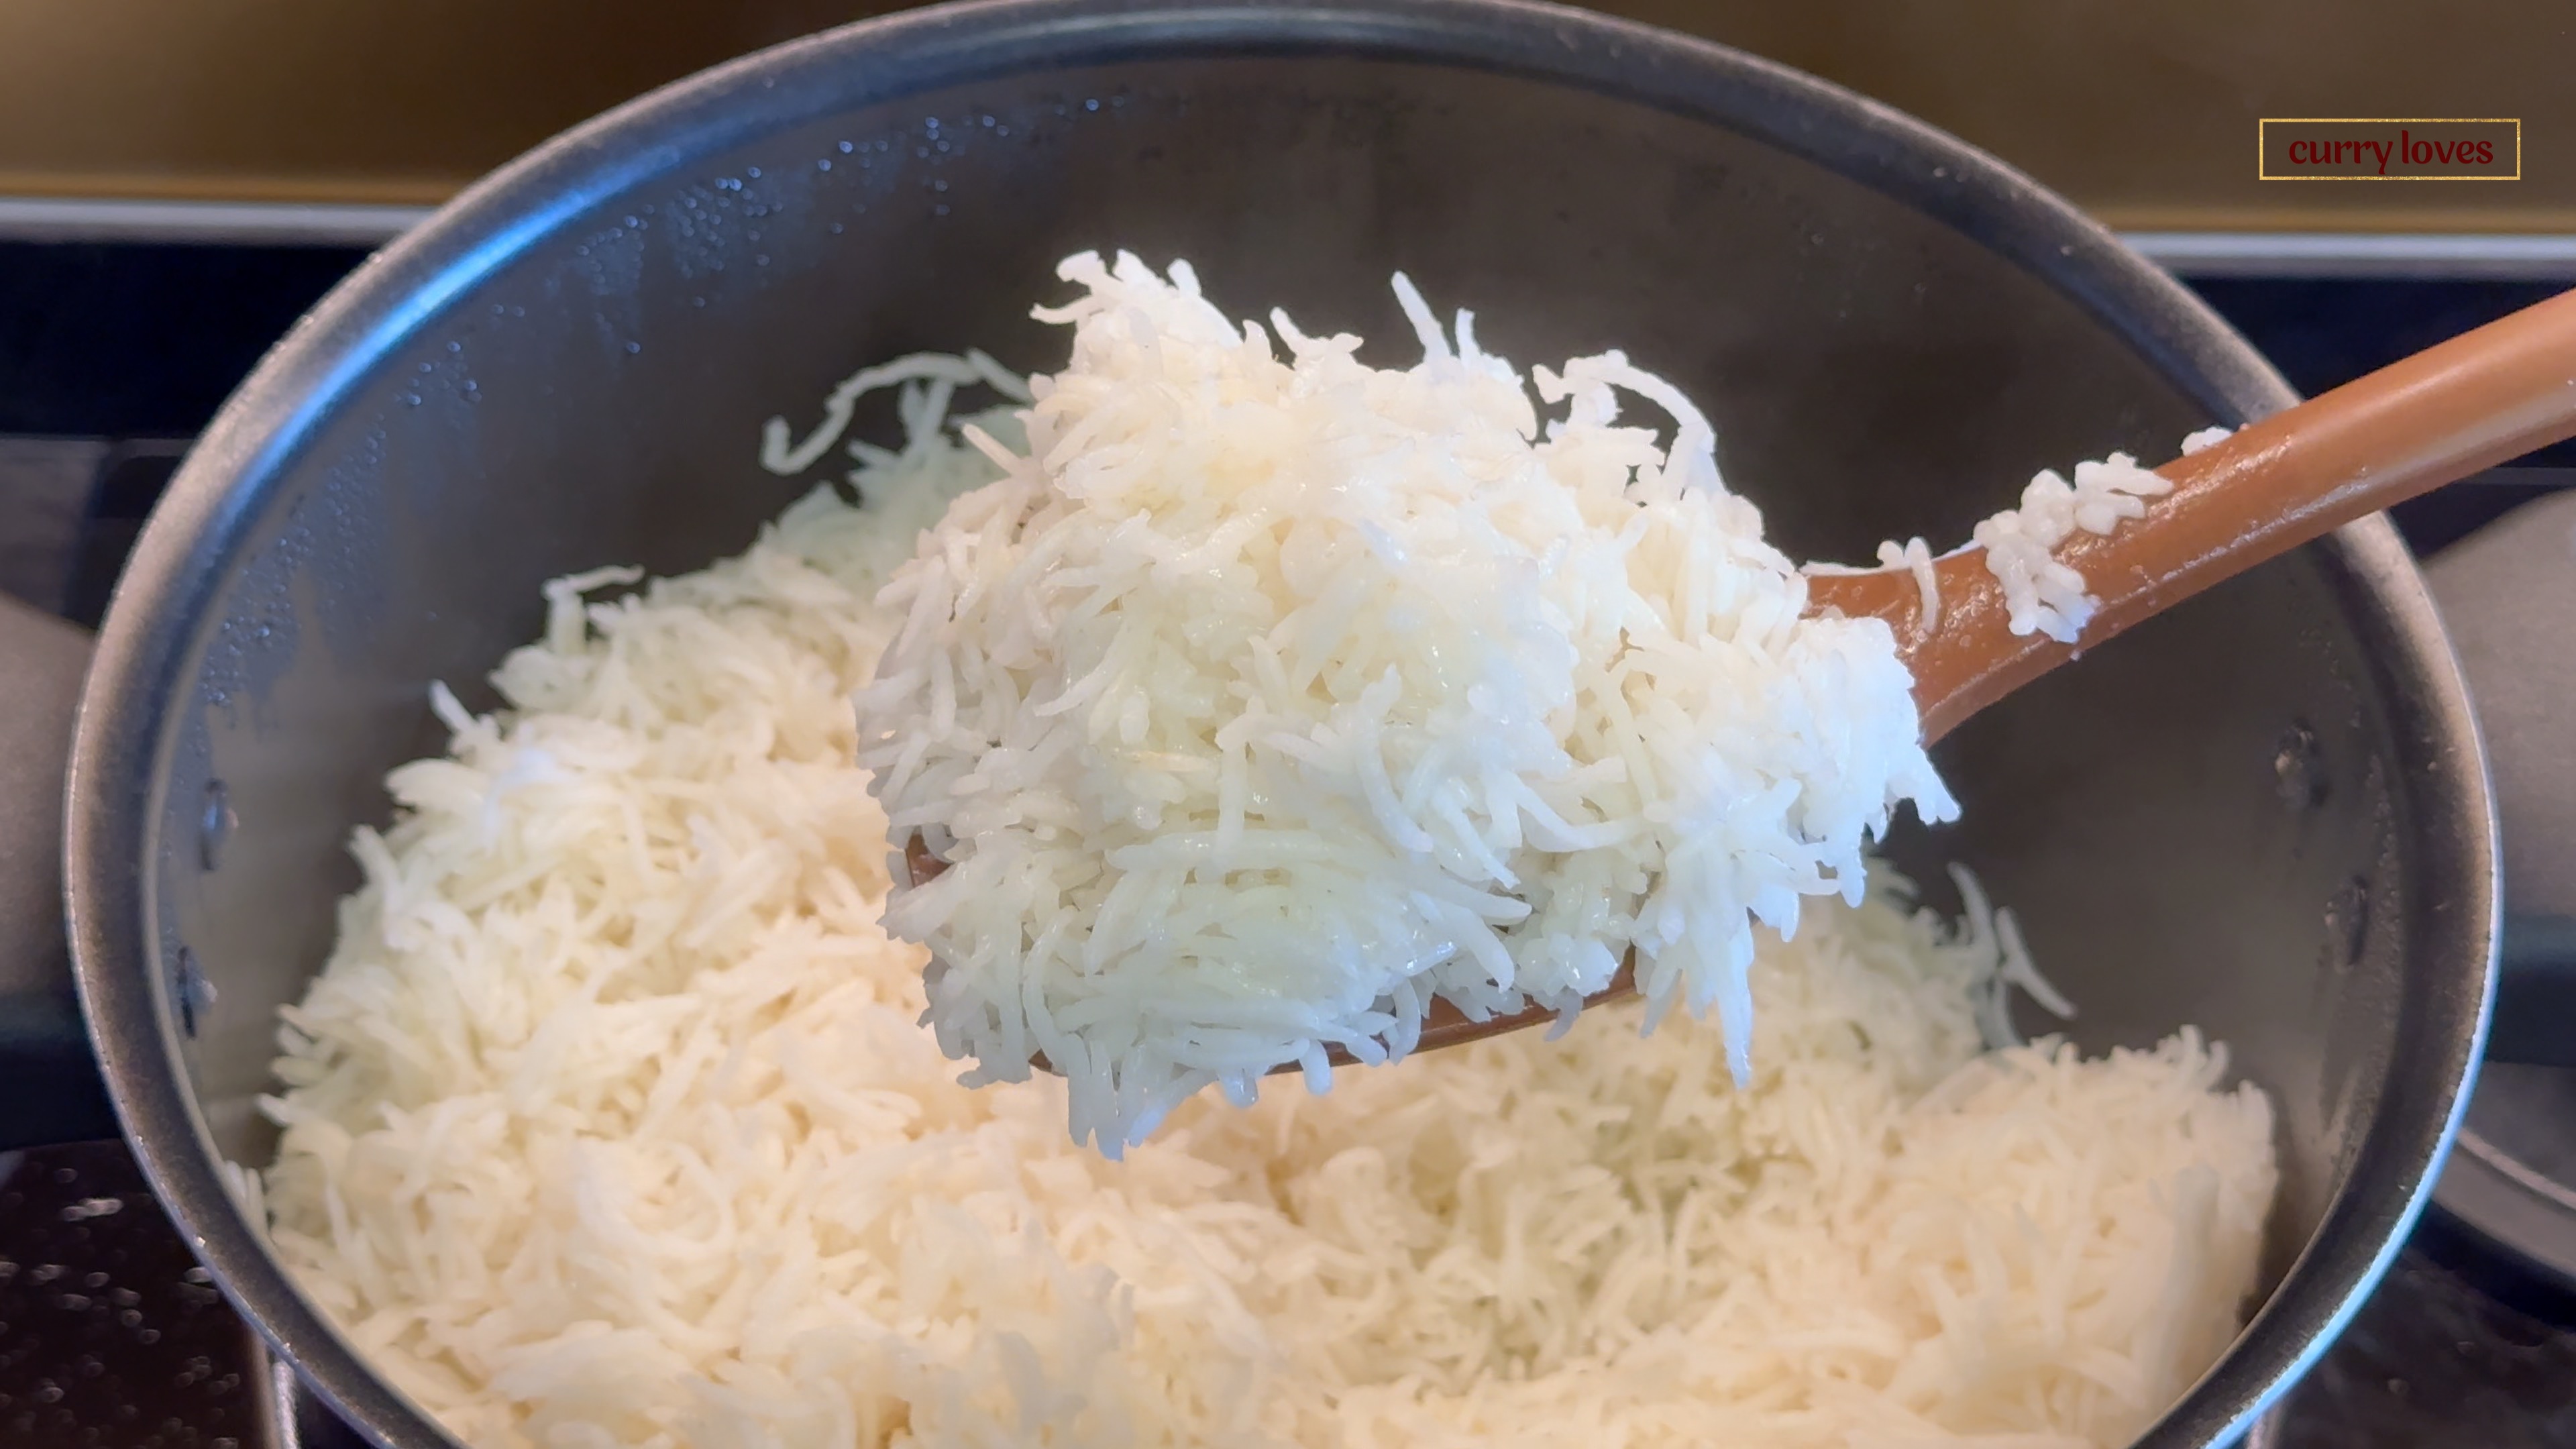
- Add 3 cups of water and salt. Add juice of 1/2 lemon. Mix, cover, and cook on low flame for 15 minutes.
- Once cooked, fluff up the rice and set aside.
-
- In a biryani pot, spread 1 tbsp ghee evenly with a brush.
- Layer half of the cooked rice, followed by chopped mint and curry leaves.
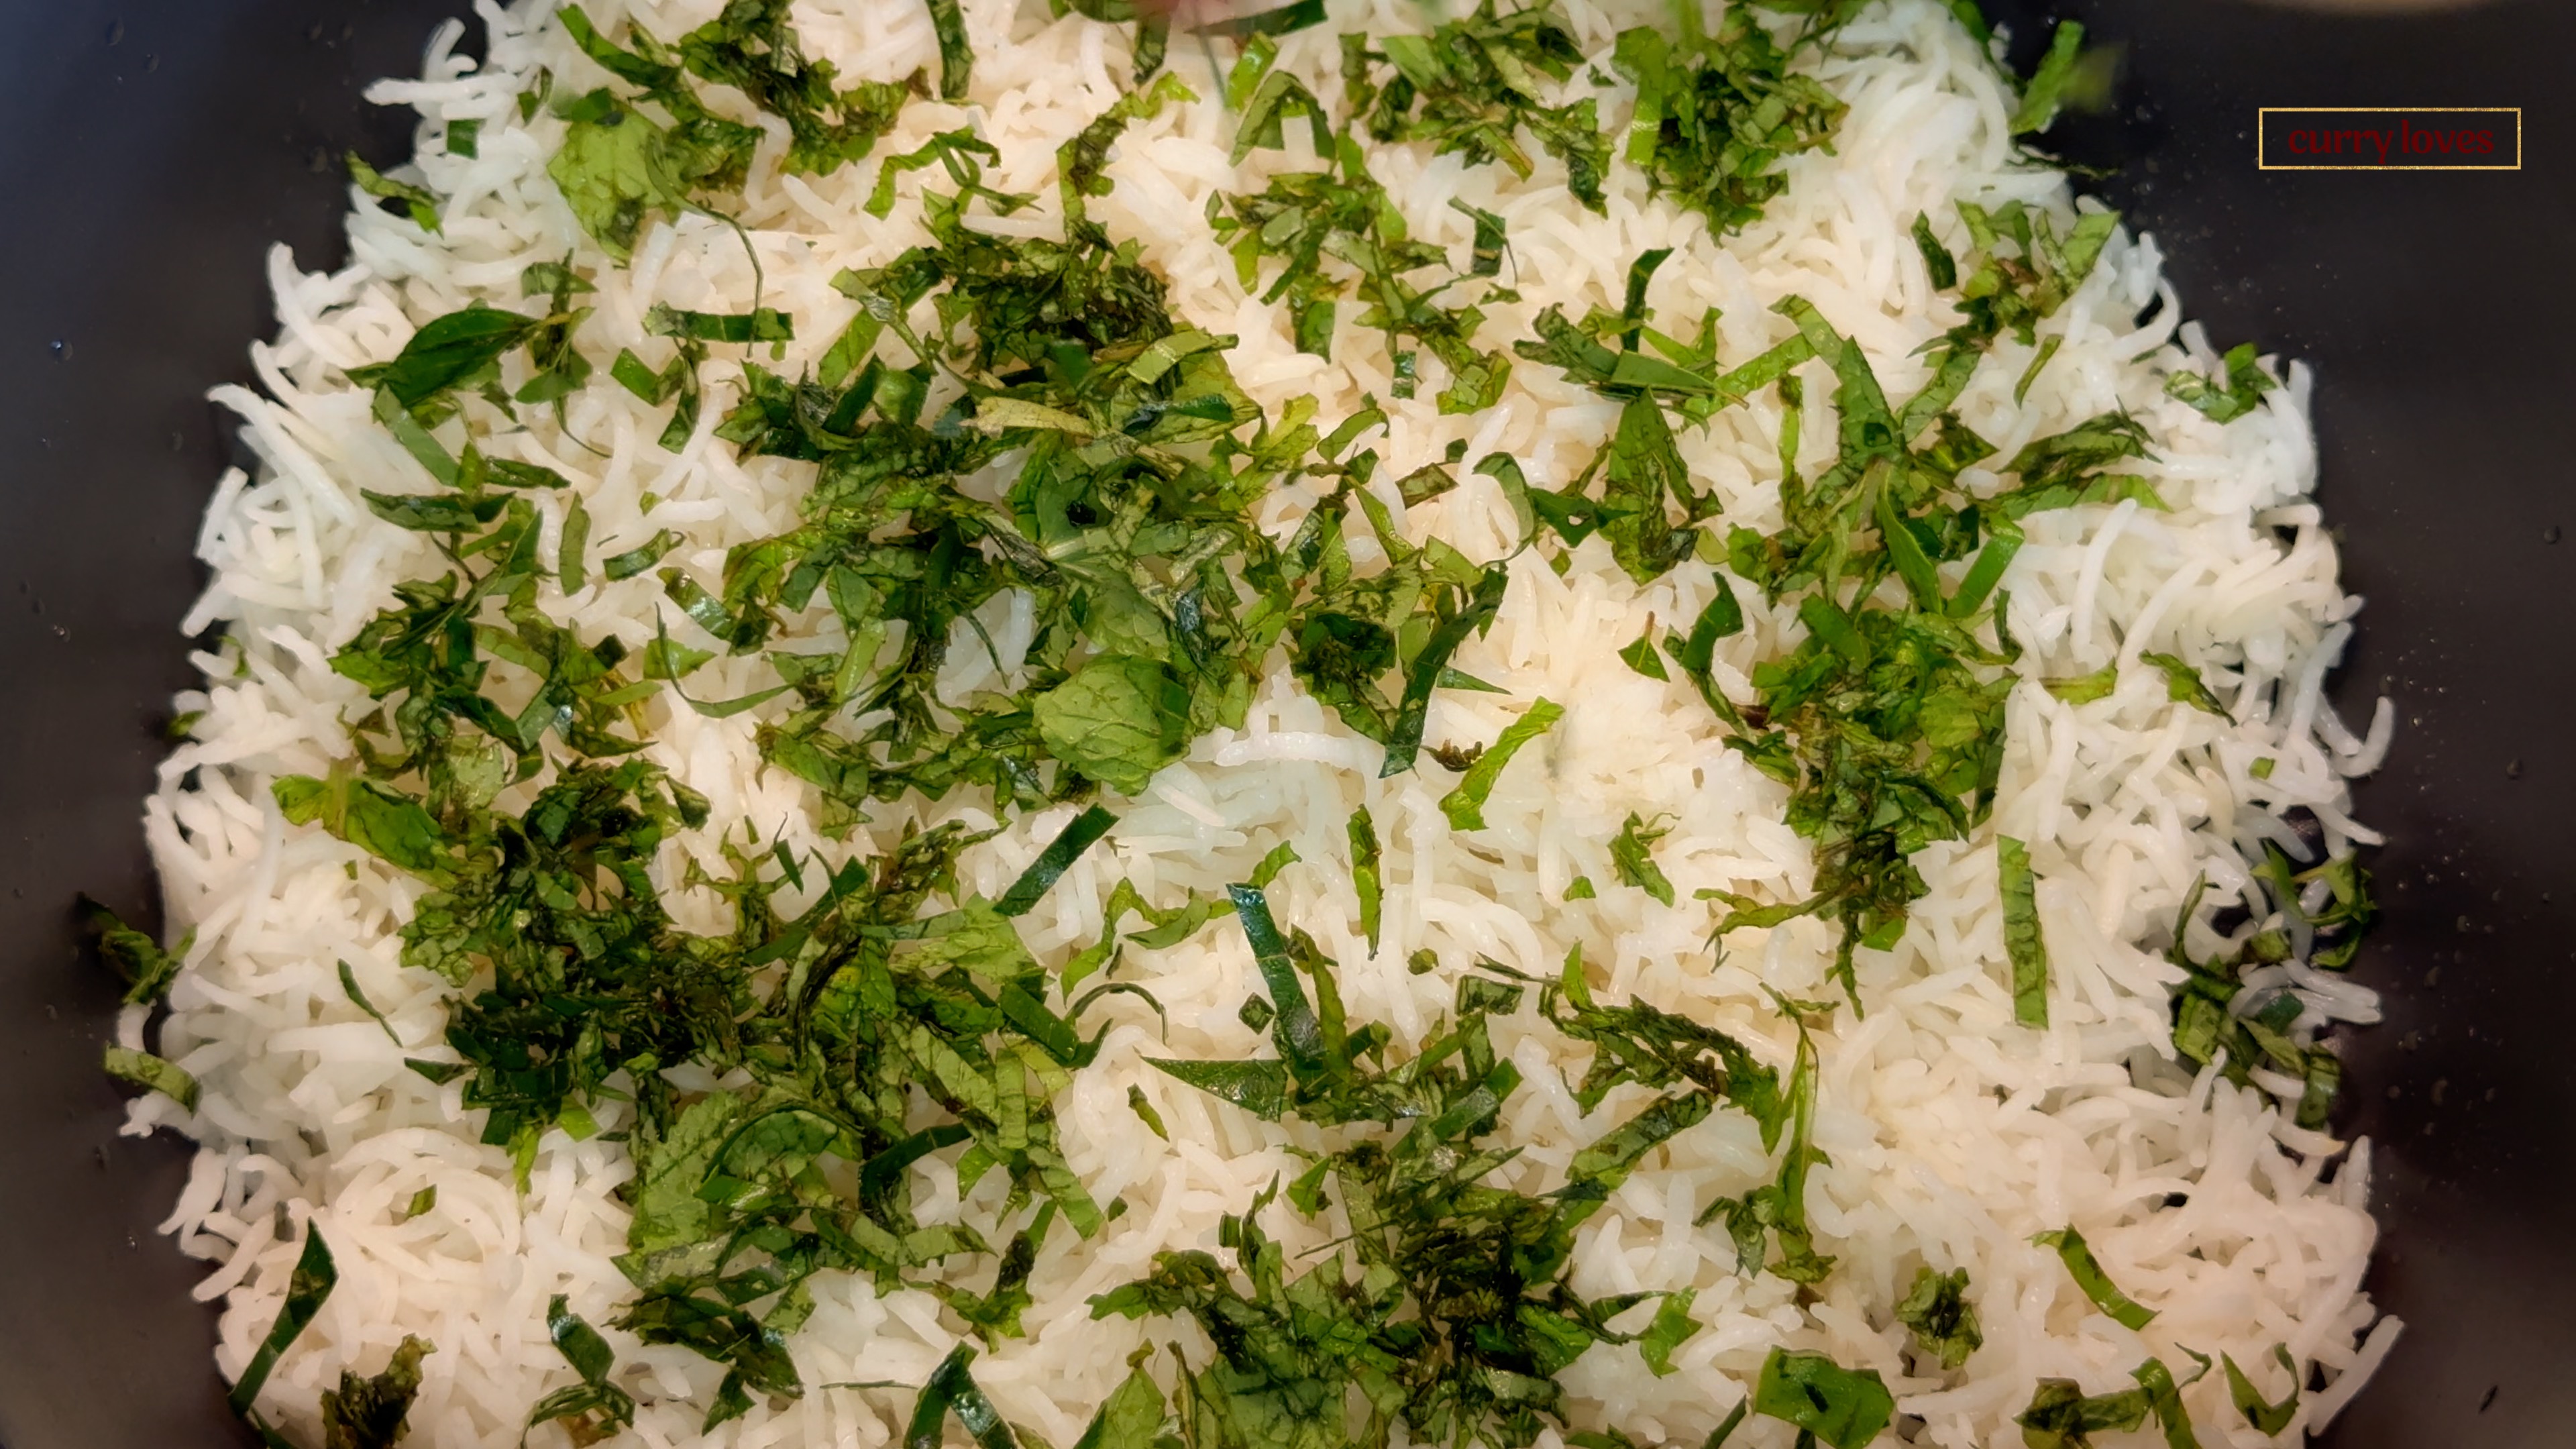
-
- Add fried raisins and cashew nuts.
- Spread half of the cooked chicken masala evenly.
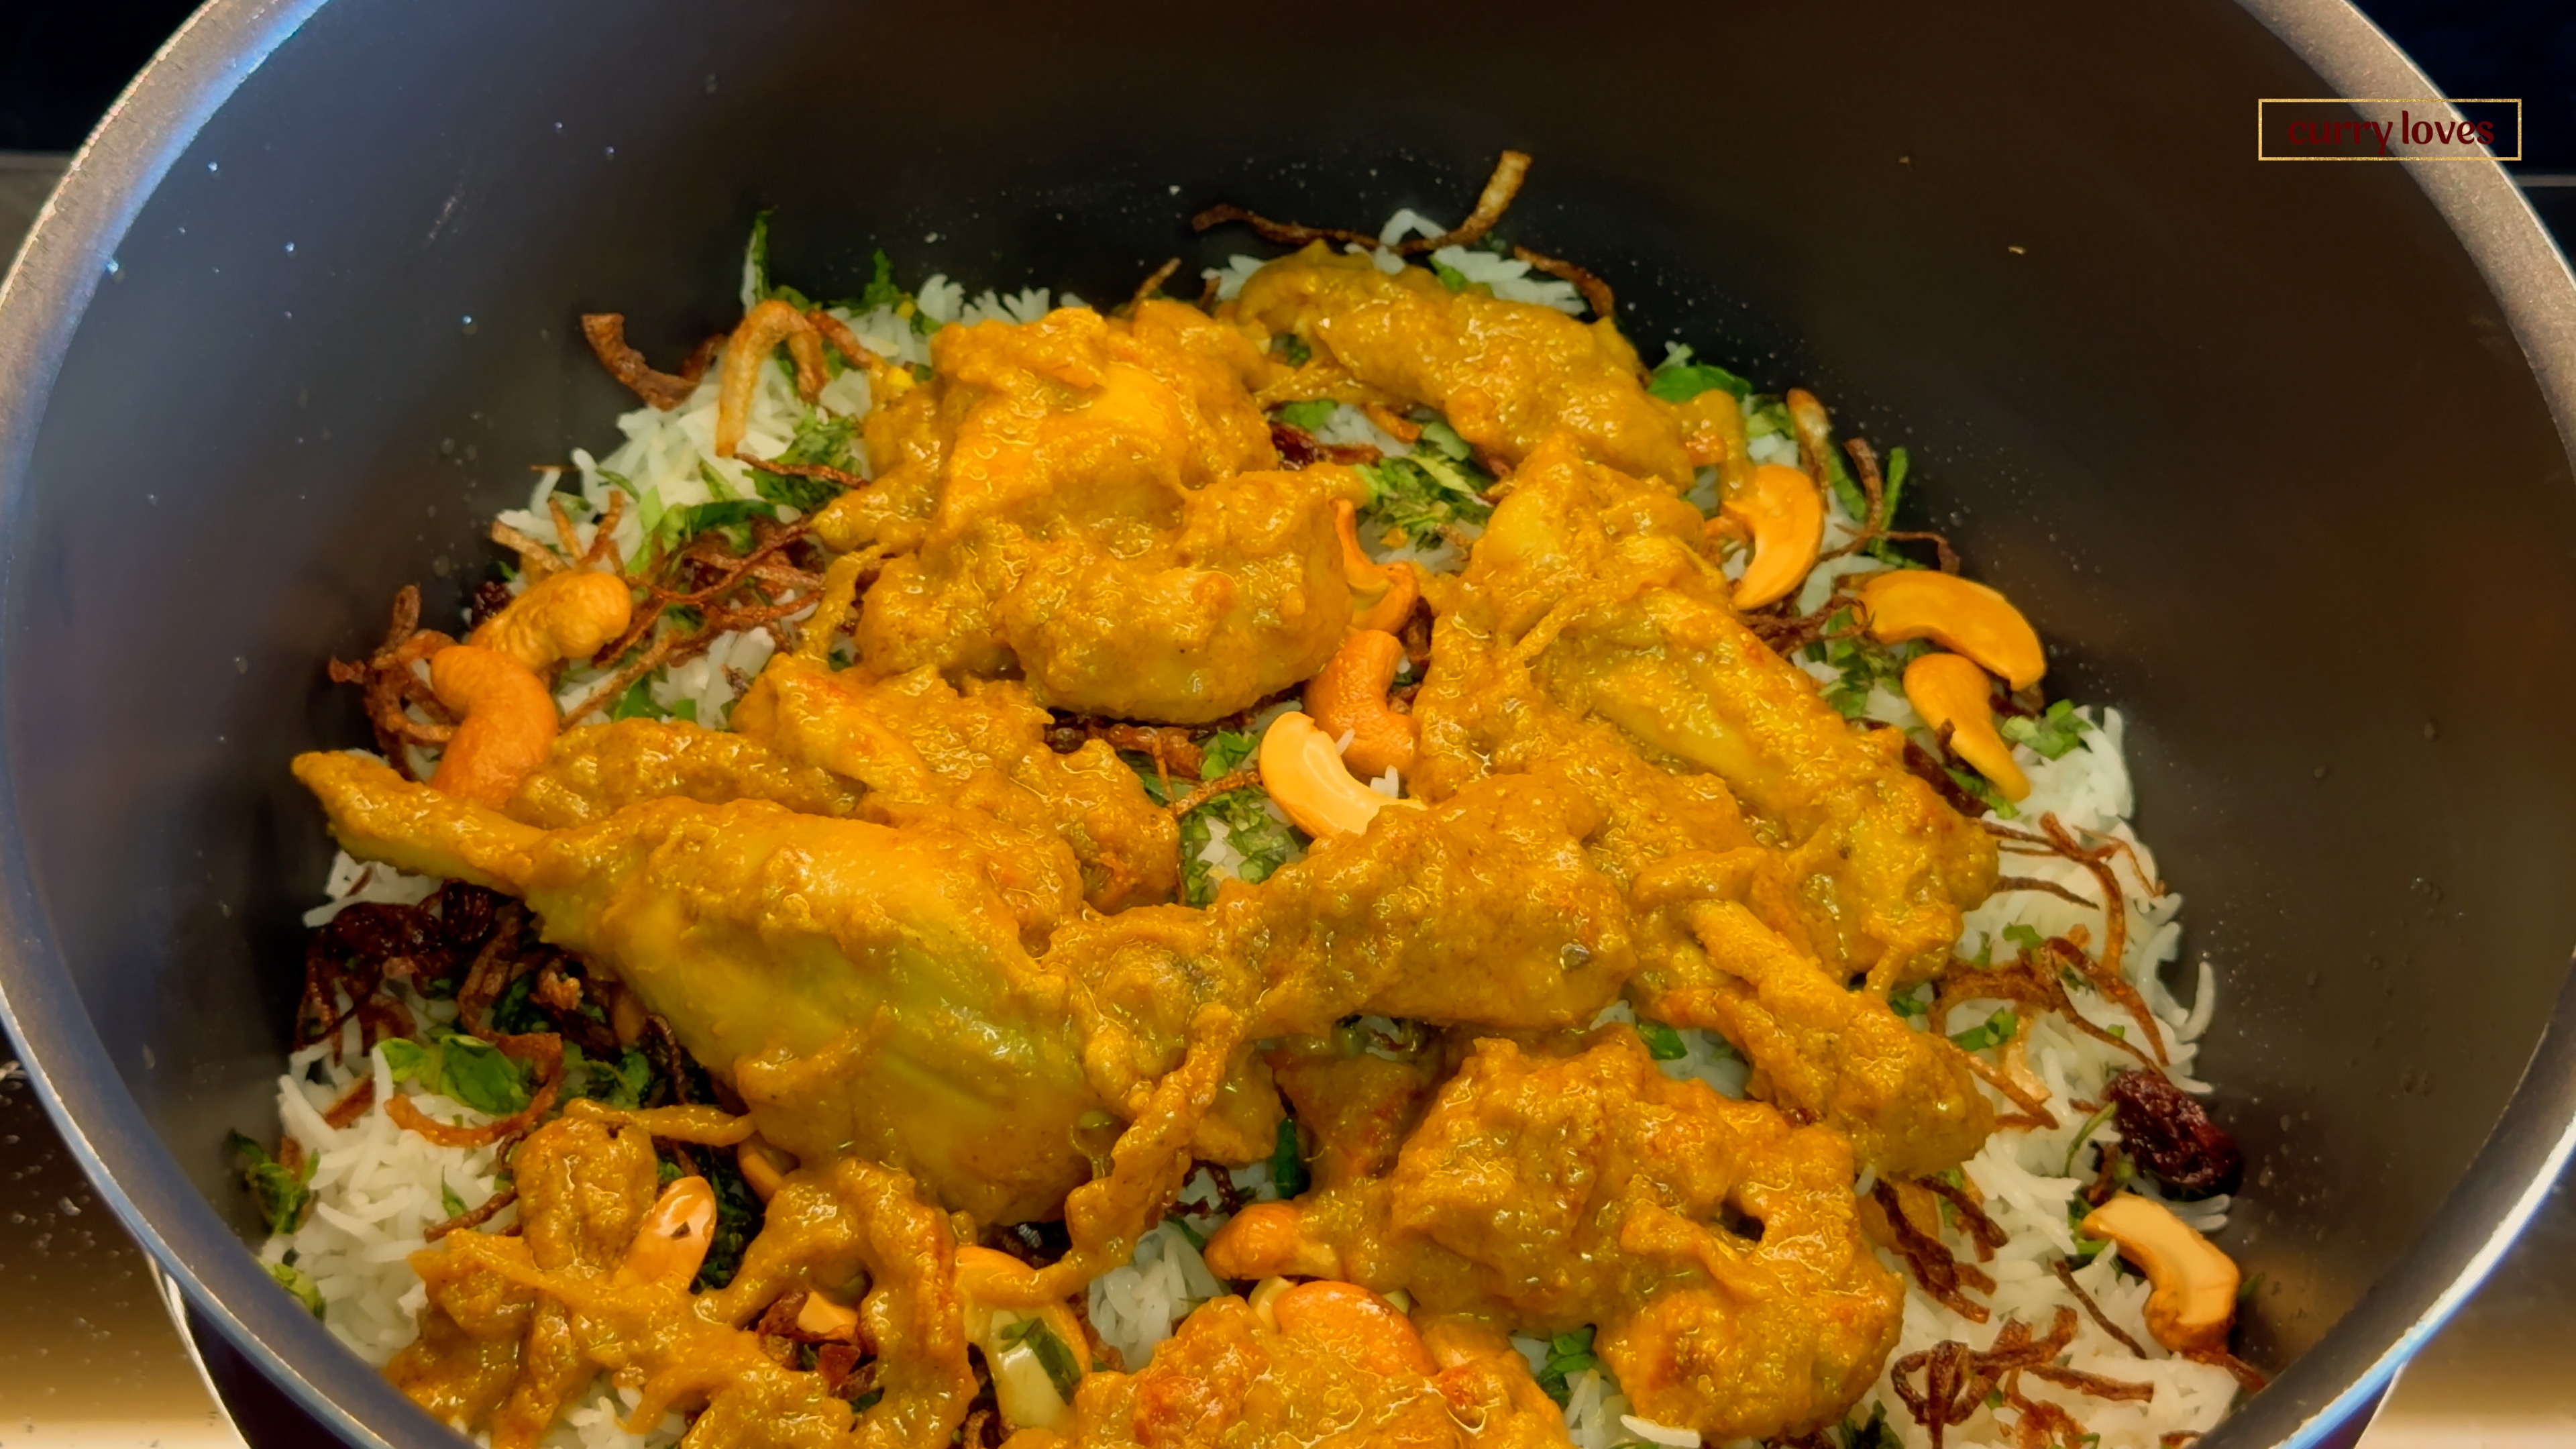
-
- Add the remaining rice, more mint and curry leaves, and the remaining chicken masala.
- Top with fried onions, raisins, cashew nuts, and chopped coriander leaves.
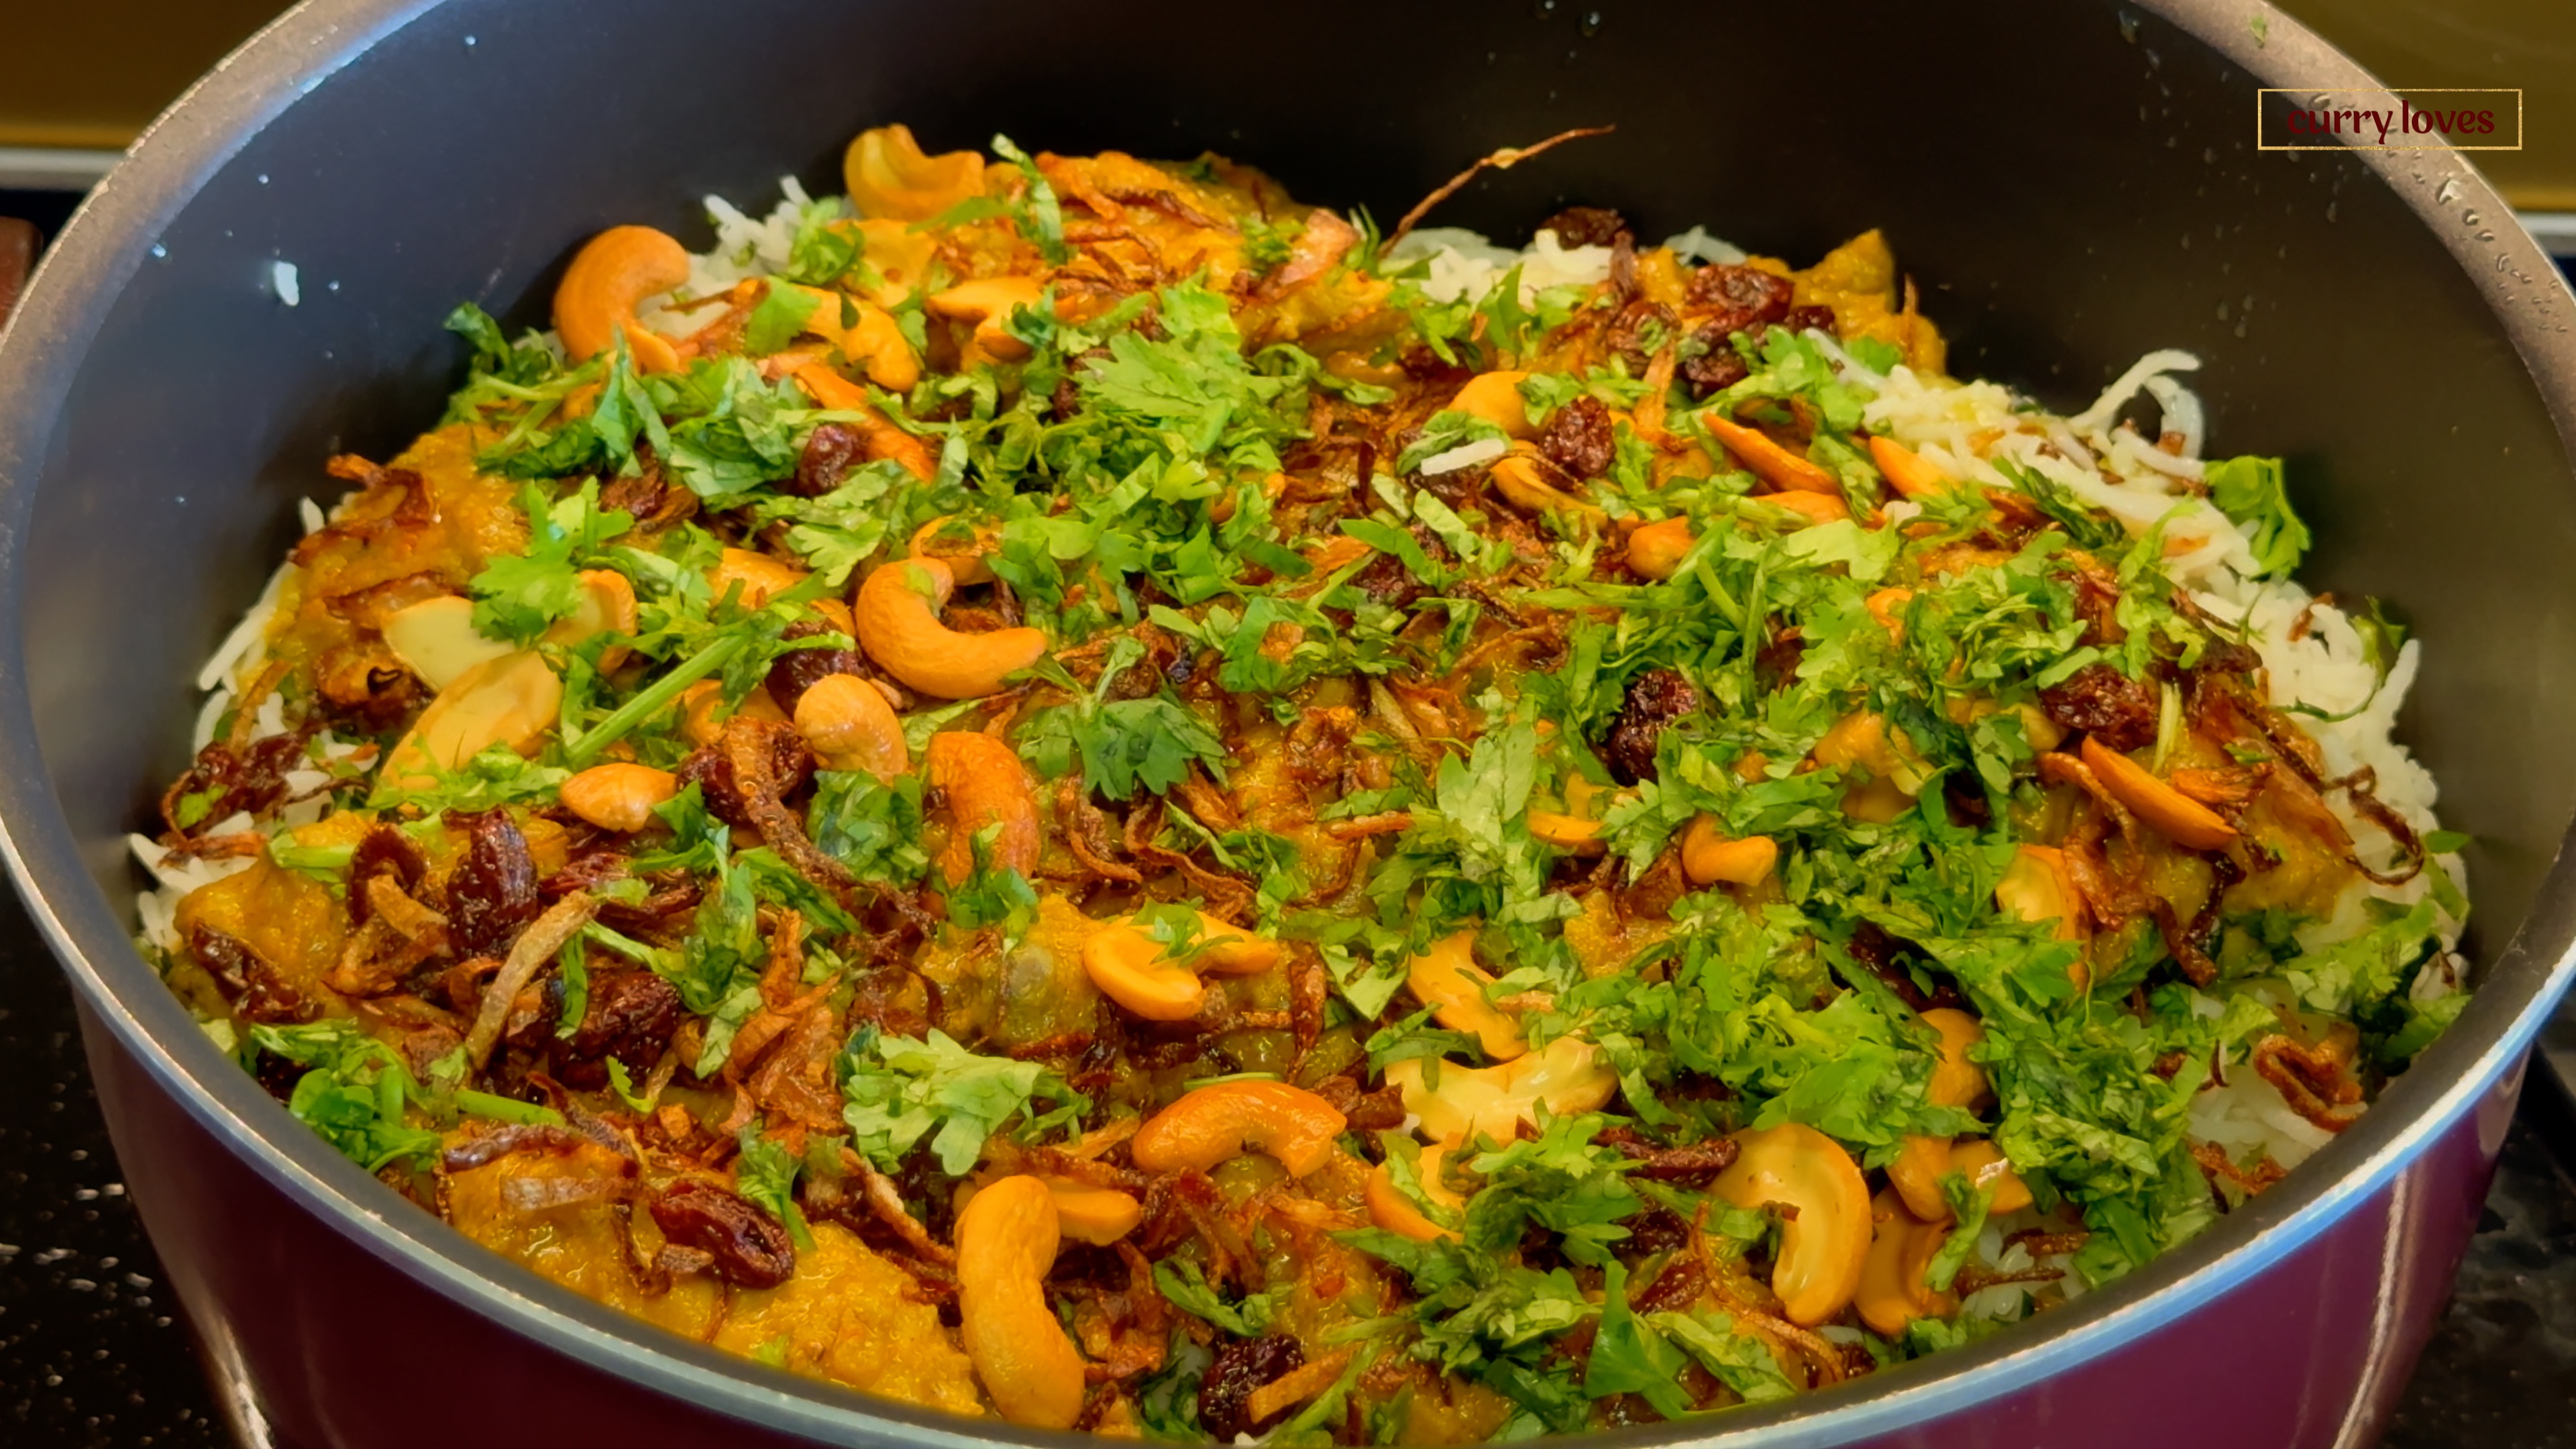
-
- Cover the pot with aluminum foil and a tight lid.
- Cook on low flame for 20 minutes.
- Let the biryani rest for 15 minutes without opening.
- Gently mix and serve hot with raita.